Easy DIY Christmas Ornaments

Newsflash… I love the holidays! Probably no surprise there, but I feel like I hit my highest creative frequency this time of year. This year, I’ve really focused on being highly sustainable and approaching my decor from a minimalistic and natural point of view. I like to make something new every year, but this year, I wanted to try and buy as little as I could while trying to use as much material I happened to have around as possible. So, I had these lovely cotton tassels leftover from another project from a few years back and I always seem to have a bunch of loose wooden beads laying around. Add a little bit of cotton thread and wah-la! I found myself in “maker” heaven! Here’s my SUPER easy, step by step DIY beaded ornament tutorial.
Materials Needed
Cotton Tassels - here are a few easy “buy now” options, ONE, TWO, THREE, but I also love to make them myself and will do a tutorial on that really soon too.
Wood Breads - I used three quarter inch on this project, but you can mix it up and use one inch, half inch, or do a combination really easily with a kit like this.
How To Make
First, I cut a 10-1/2” piece of cotton thread twine and apply a small bit of washi tape to each end in order to make threading the twine through the tassel and bead easier.
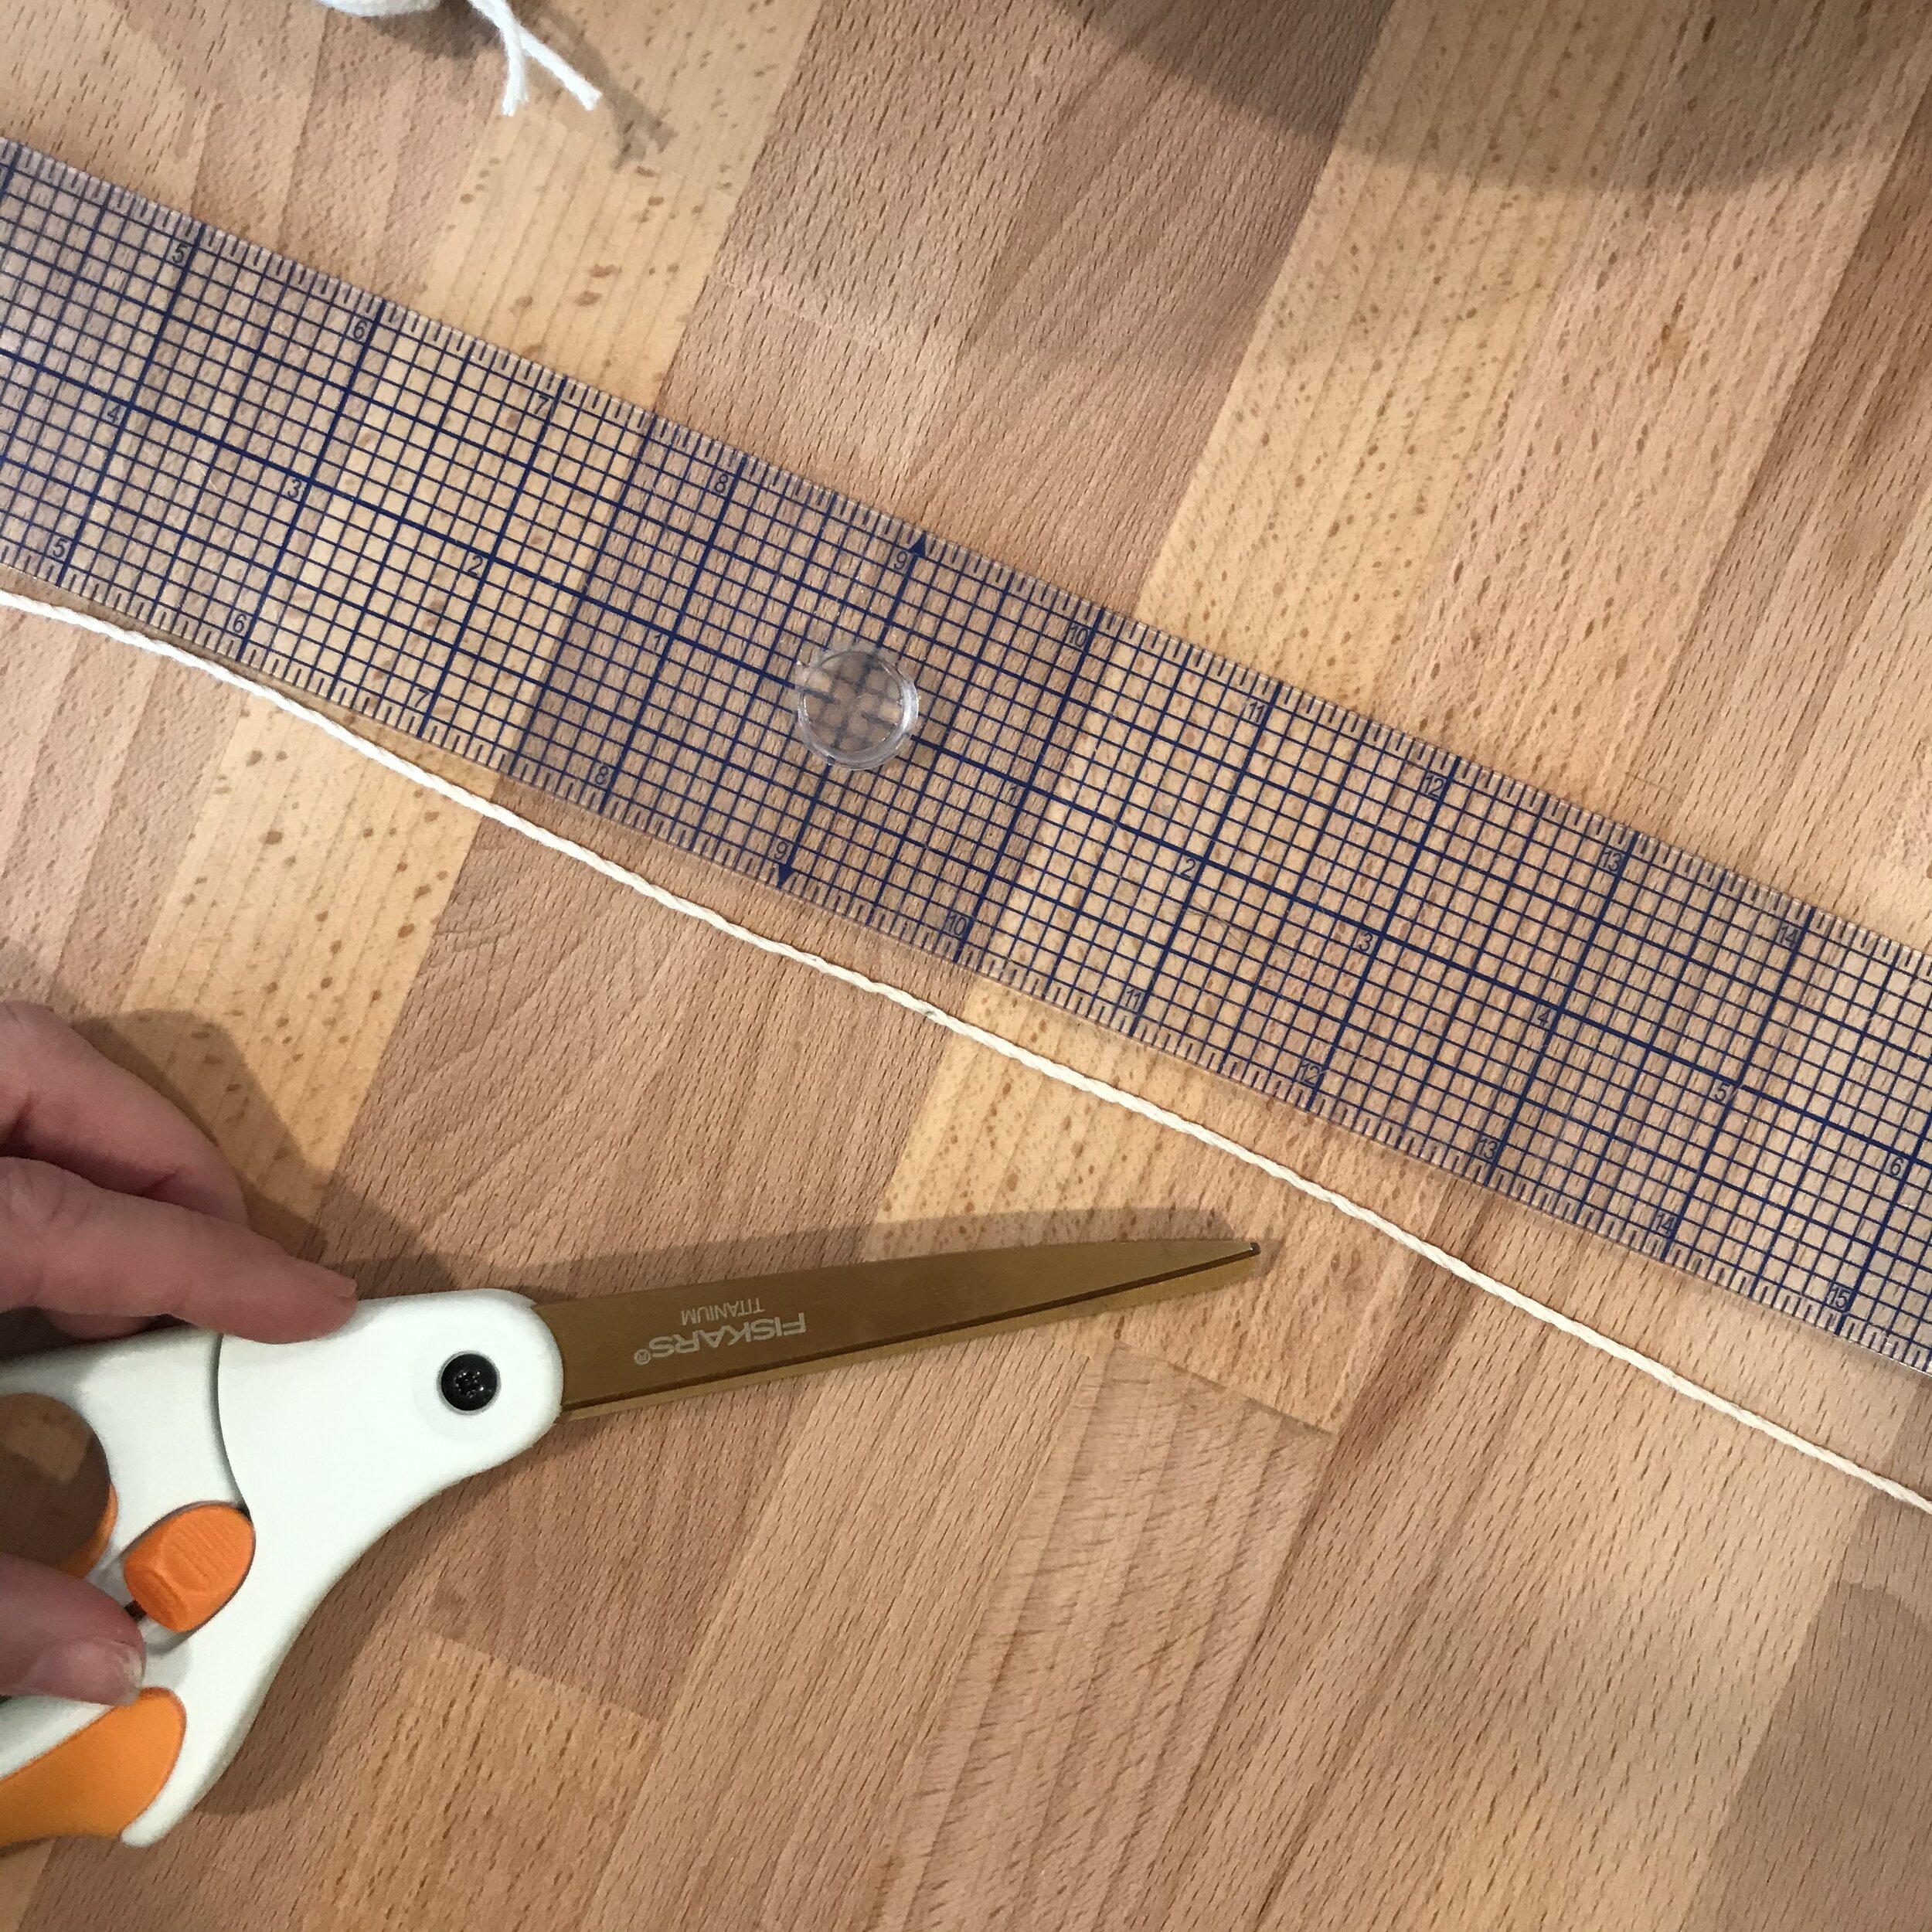

Next, I thread my cotton twine through my tassel and start playing with the beads sending both washi tapped ends through the beads. You can get really creative here by mixing up the sizes or be super straightforward and simple like I did. This is definitely the part where you can really make the project your own! **My tree this year had a beautiful sparseness to it, with a lot of negative space, so I was able to make my tassel bead ornaments 9” long! But, it’s something to consider when selecting the amount of beads and tassel length.

Once you’ve completed adding your beads, measure the amount of length you want for your loop to go around the branches. I decided on 2-1/2”. Tie a small not only twice and trim the ends to the knot ball. You don’t want the knot to be too large to fit down inside the bead because that’s how we will twist the know down inside so we don’t leave the knot exposed.

Cut a small amount of your cotton thread (I did 6”). This will be the thread you tie around the top of your top bead to keep your beads from being able to fall off the end. I tie a tight knot around, then twist back and forth (either side of the ornament) and do four total knots. Then trim off the remaining string.


Seriously, it’s that simple!! I feel like these can make an impact on any tree. Mine personally is very minimal and has a natural feet. I feel like they would look fantastic on a farmhouse inspired tree too!


There you have it! Please share photos of your handmade ornaments! I love seeing other peoples vision come together.
Happy Holidays!
heather-scherie
*this post does include affiliate links! It’s how I pay my bills y’all!