One Room Challenge | Week 3 Welcome to the White Box
Welcome to the White Box my friends - aka - my blank canvas!

All lace everything…
Chantilly Lace by Benjamin Moore that is! I know that a lot of people find a space like this to be sterile and cold. For me, this room gives me soooooo much joy! It’s like having a big, beautiful, bright white, new canvas show up on my door step. The possibilities are endless and it feels so good! For the most part, the space is just about ready to start receiving the layers that make a house a home. The new walls have been finished. The new sun tunnels (I’ll get to this in a minute) have been installed. The closet has been installed. The walls, ceilings and trim have all been finished and painted. The new door hardware is up. Hooray! SO much progress to be celebrated in this past week.
If you’re not familiar with what the One Room Challenge is, let me fill you in real quick. Each season, (Fall and Spring), twenty featured designers are selected to share their talents with all of those who love design and a serious Before & After. Be sure to check in on those folks right here and be ready to be inspired! In addition, other lovers of design, DIYers, Designers and everyone in between are invited to participate as Guest Participants to show off their projects on the hosts site as well. You can see all of the other spectacular talent here.


Welcome!
If you’re new here, Hi! I’m Heather-Scherie. I’ve been a professional Interior Designer for what feels like eons now. I’m the owner of Whitestone Design Group based in the Greater Seattle Area. I’m a lover of DIY’s, all things design, and life in general. I have two delectable little boys, ages one and three, and am the wife to my handsome hubs that embraces all my needs to turn everything into a project!
Sun Tunnels
So, let’s start with the sun tunnels. I’ll be honest, I’d never heard of them. I really wanted a small window over the bed, but we live in an all brick house. Out here in the Pacific Northwest, they just aren’t that prevalent. So, when I started reaching out to local contractors, I was SHOCKED by the prices I was being quoted to add one window. It just didn’t seem practical at all to proceed with that plan, but I was sharing my hang up with the electrician and he mentioned these sun tunnels! Also called, solar tubes, but they essentially are a skylight that goes through the roof and into a dropped ceiling. We were already getting our roof done, so with some quick research and coordination with our roofing team, BOOM! People, we have daylight! The cost was extremely reasonable in comparison to adding the window and we were able to do two of them in bedroom, one in that master bathroom and we even added one to our kitchen. We had the roofers do ours, but after seeing how it was done, I can totally see how easy it would be for a home owner to add these themselves.


18” Sun Tunnel | 10” Low Profile Sun Tunnel | 14” Sun Tunnel | 13” Flat Roof Sun Tunnel
Doors
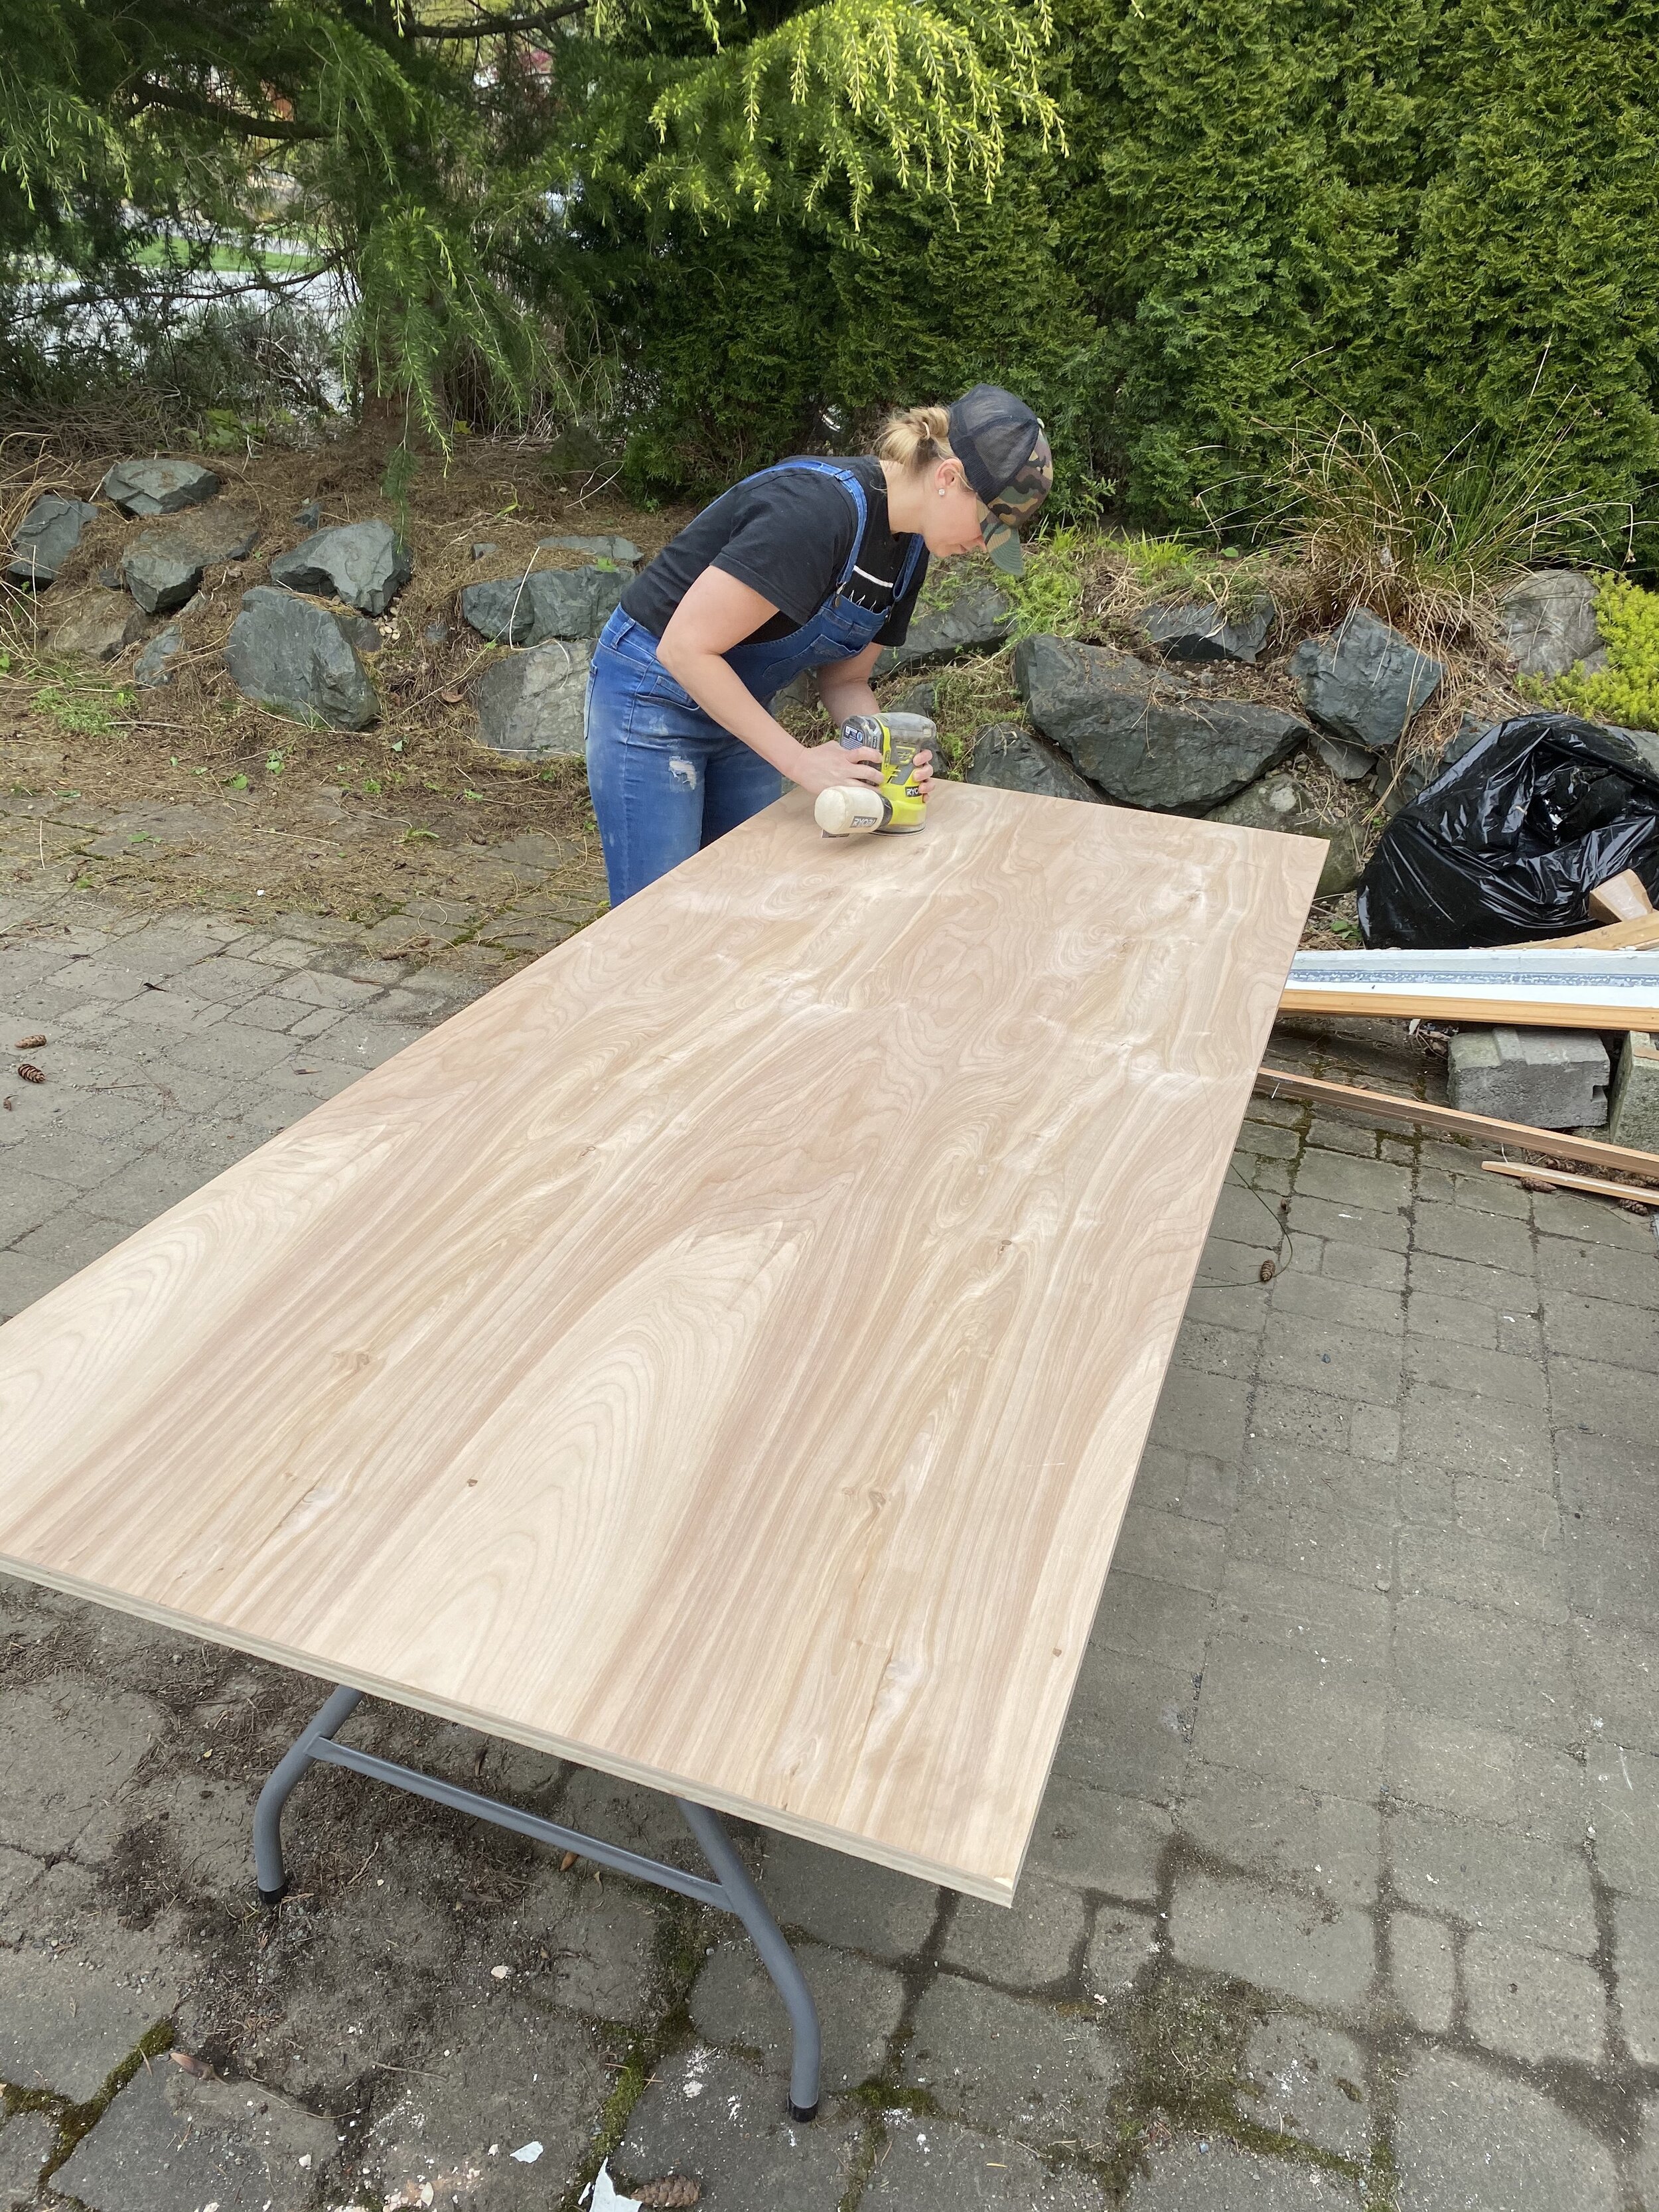
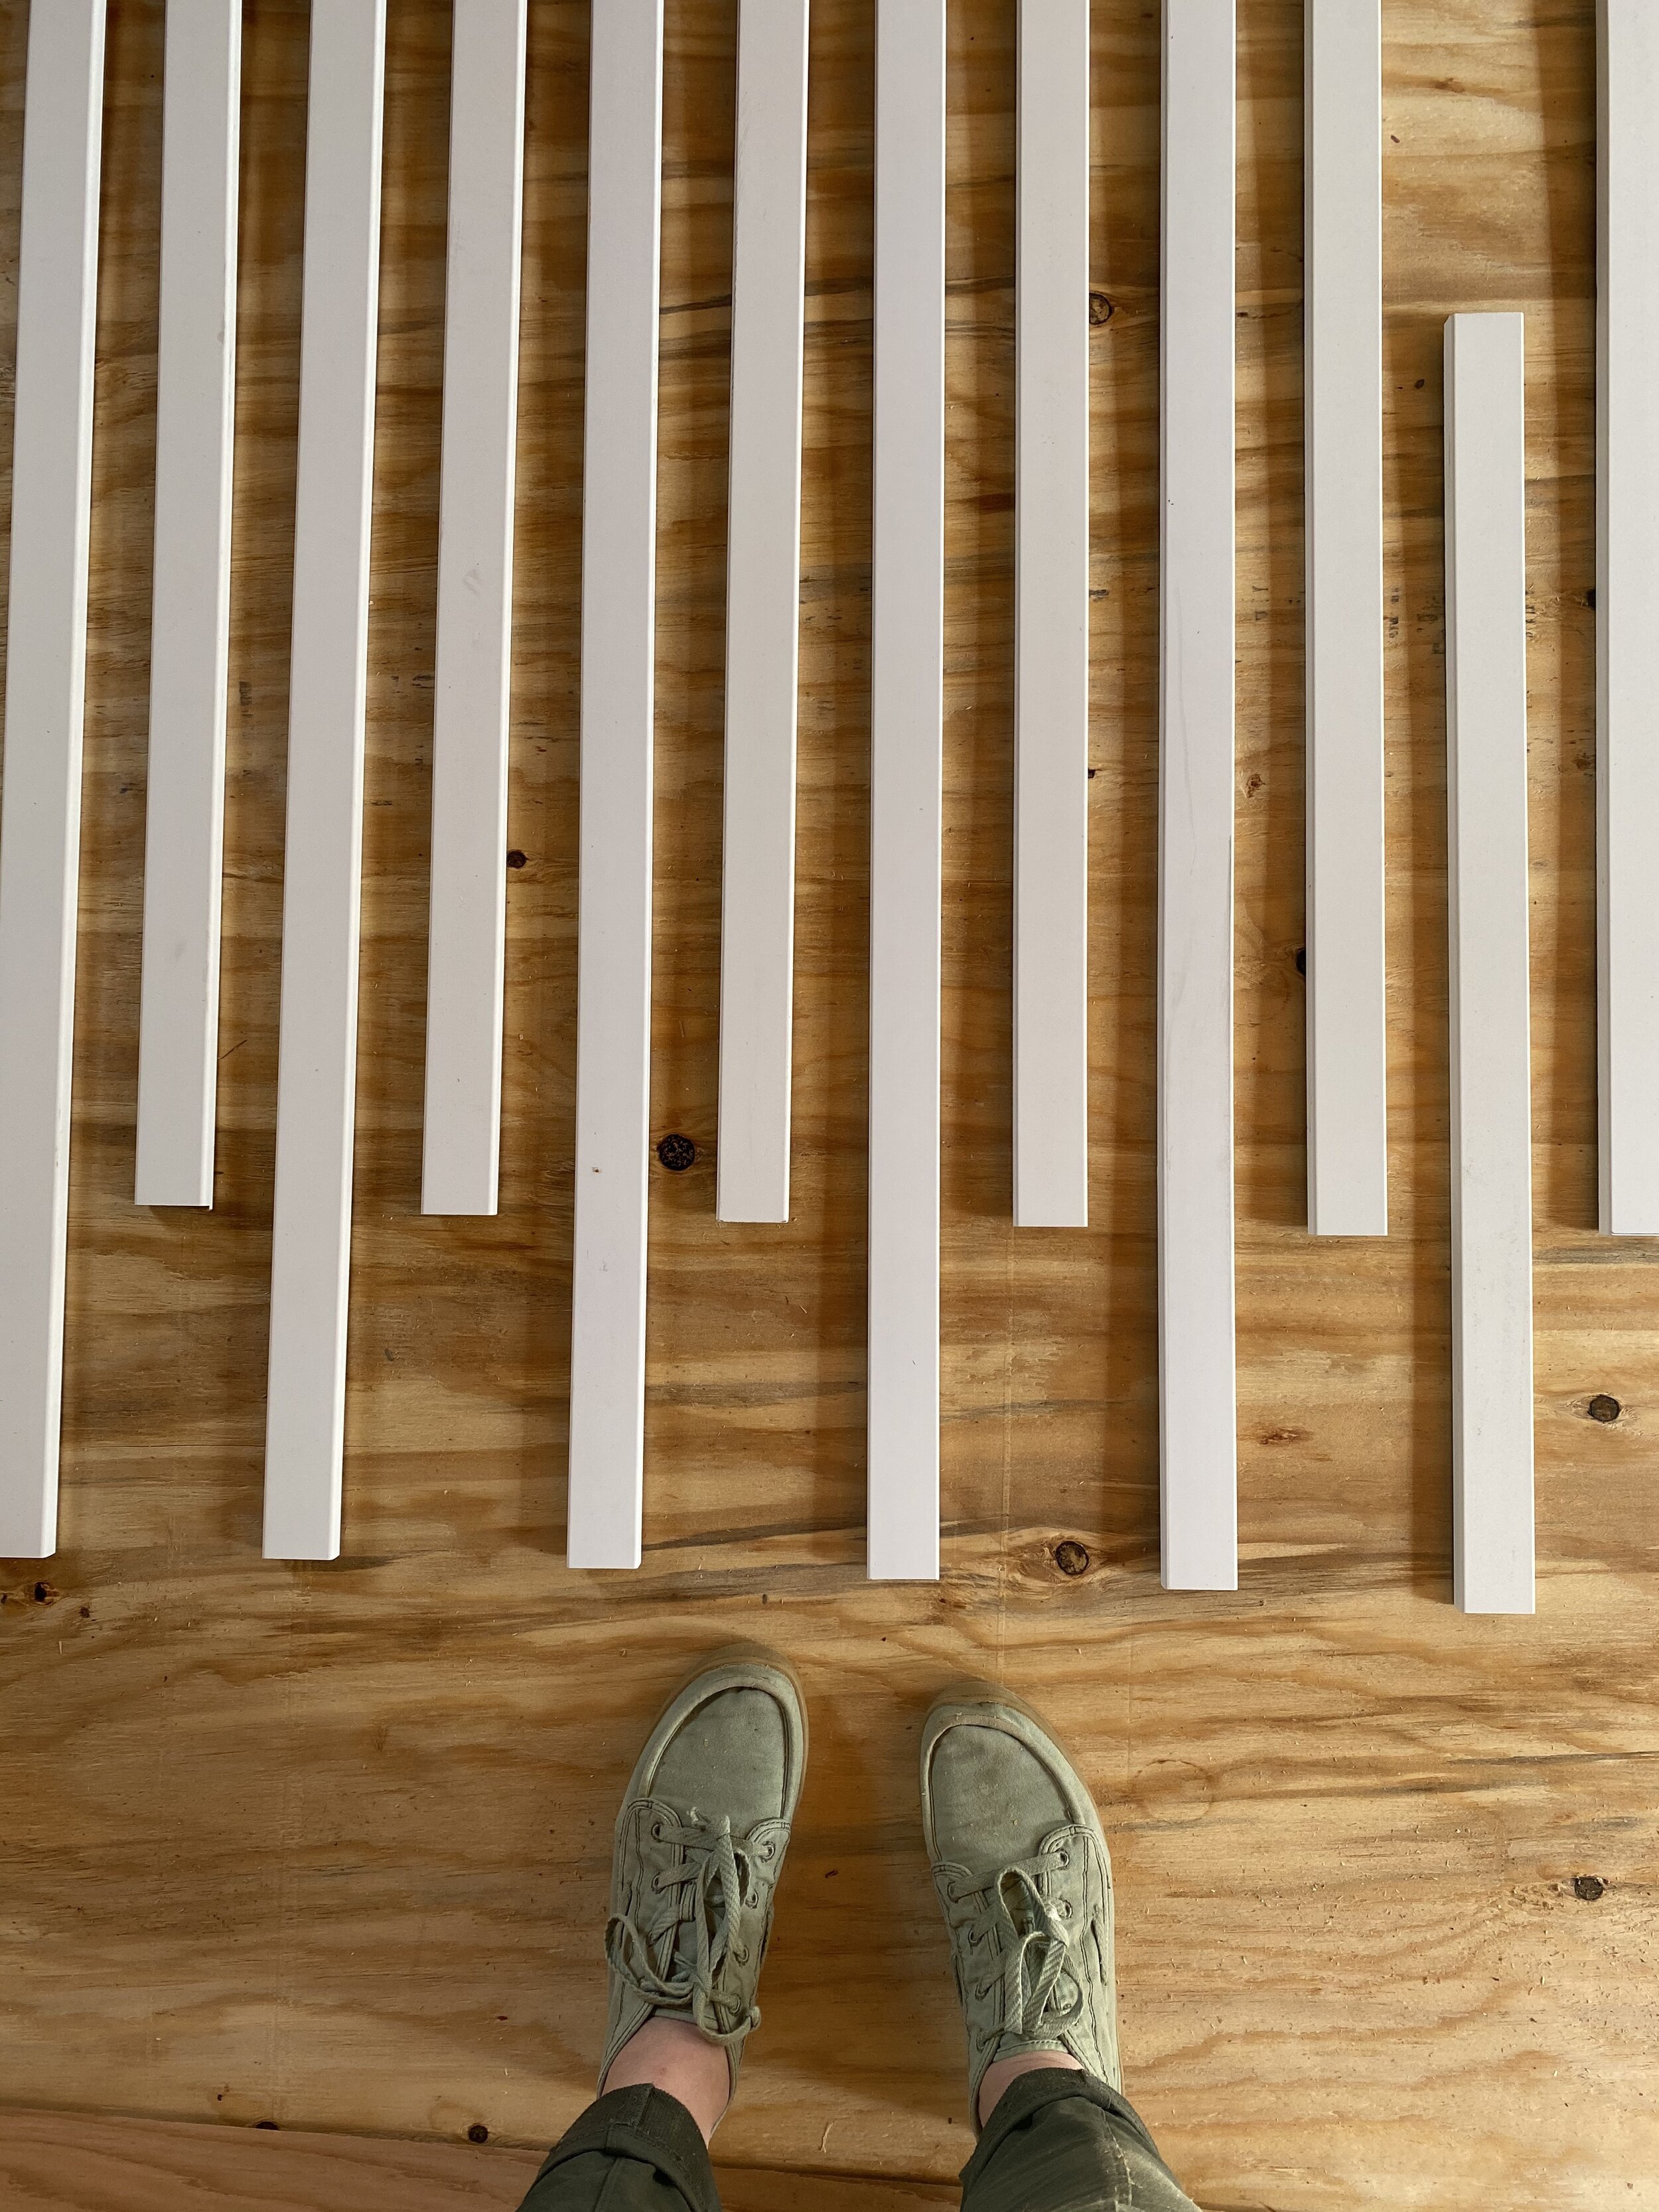
I still haven’t finished the new sliding doors, but I did get the hardware up and I’m SOOOOOO happy with it. I went with the powder coated white from Real Craft because I didn’t want the hardware to stand out at all in the room. I just need them to function and blend into the background. I went with the Aero Line because it was so clean and easy to build out with all the features I was looking for. And it was delivered so. friggin. fast. I can’t say enough great things about working with this company. So, with the help of my hubs, we installed a major piece of hardwood at the top of our wall in order to make it look kind of like crown instead of it hitting a weird spot on the wall somewhere and decided to build our doors to that height. I’m still working on the layout of my pattern, but I have decided to go with Benjamin Moore’s Fog Mist to create just a slight color difference from the Chantilly Lace that’s everywhere else, but still be very subtle.


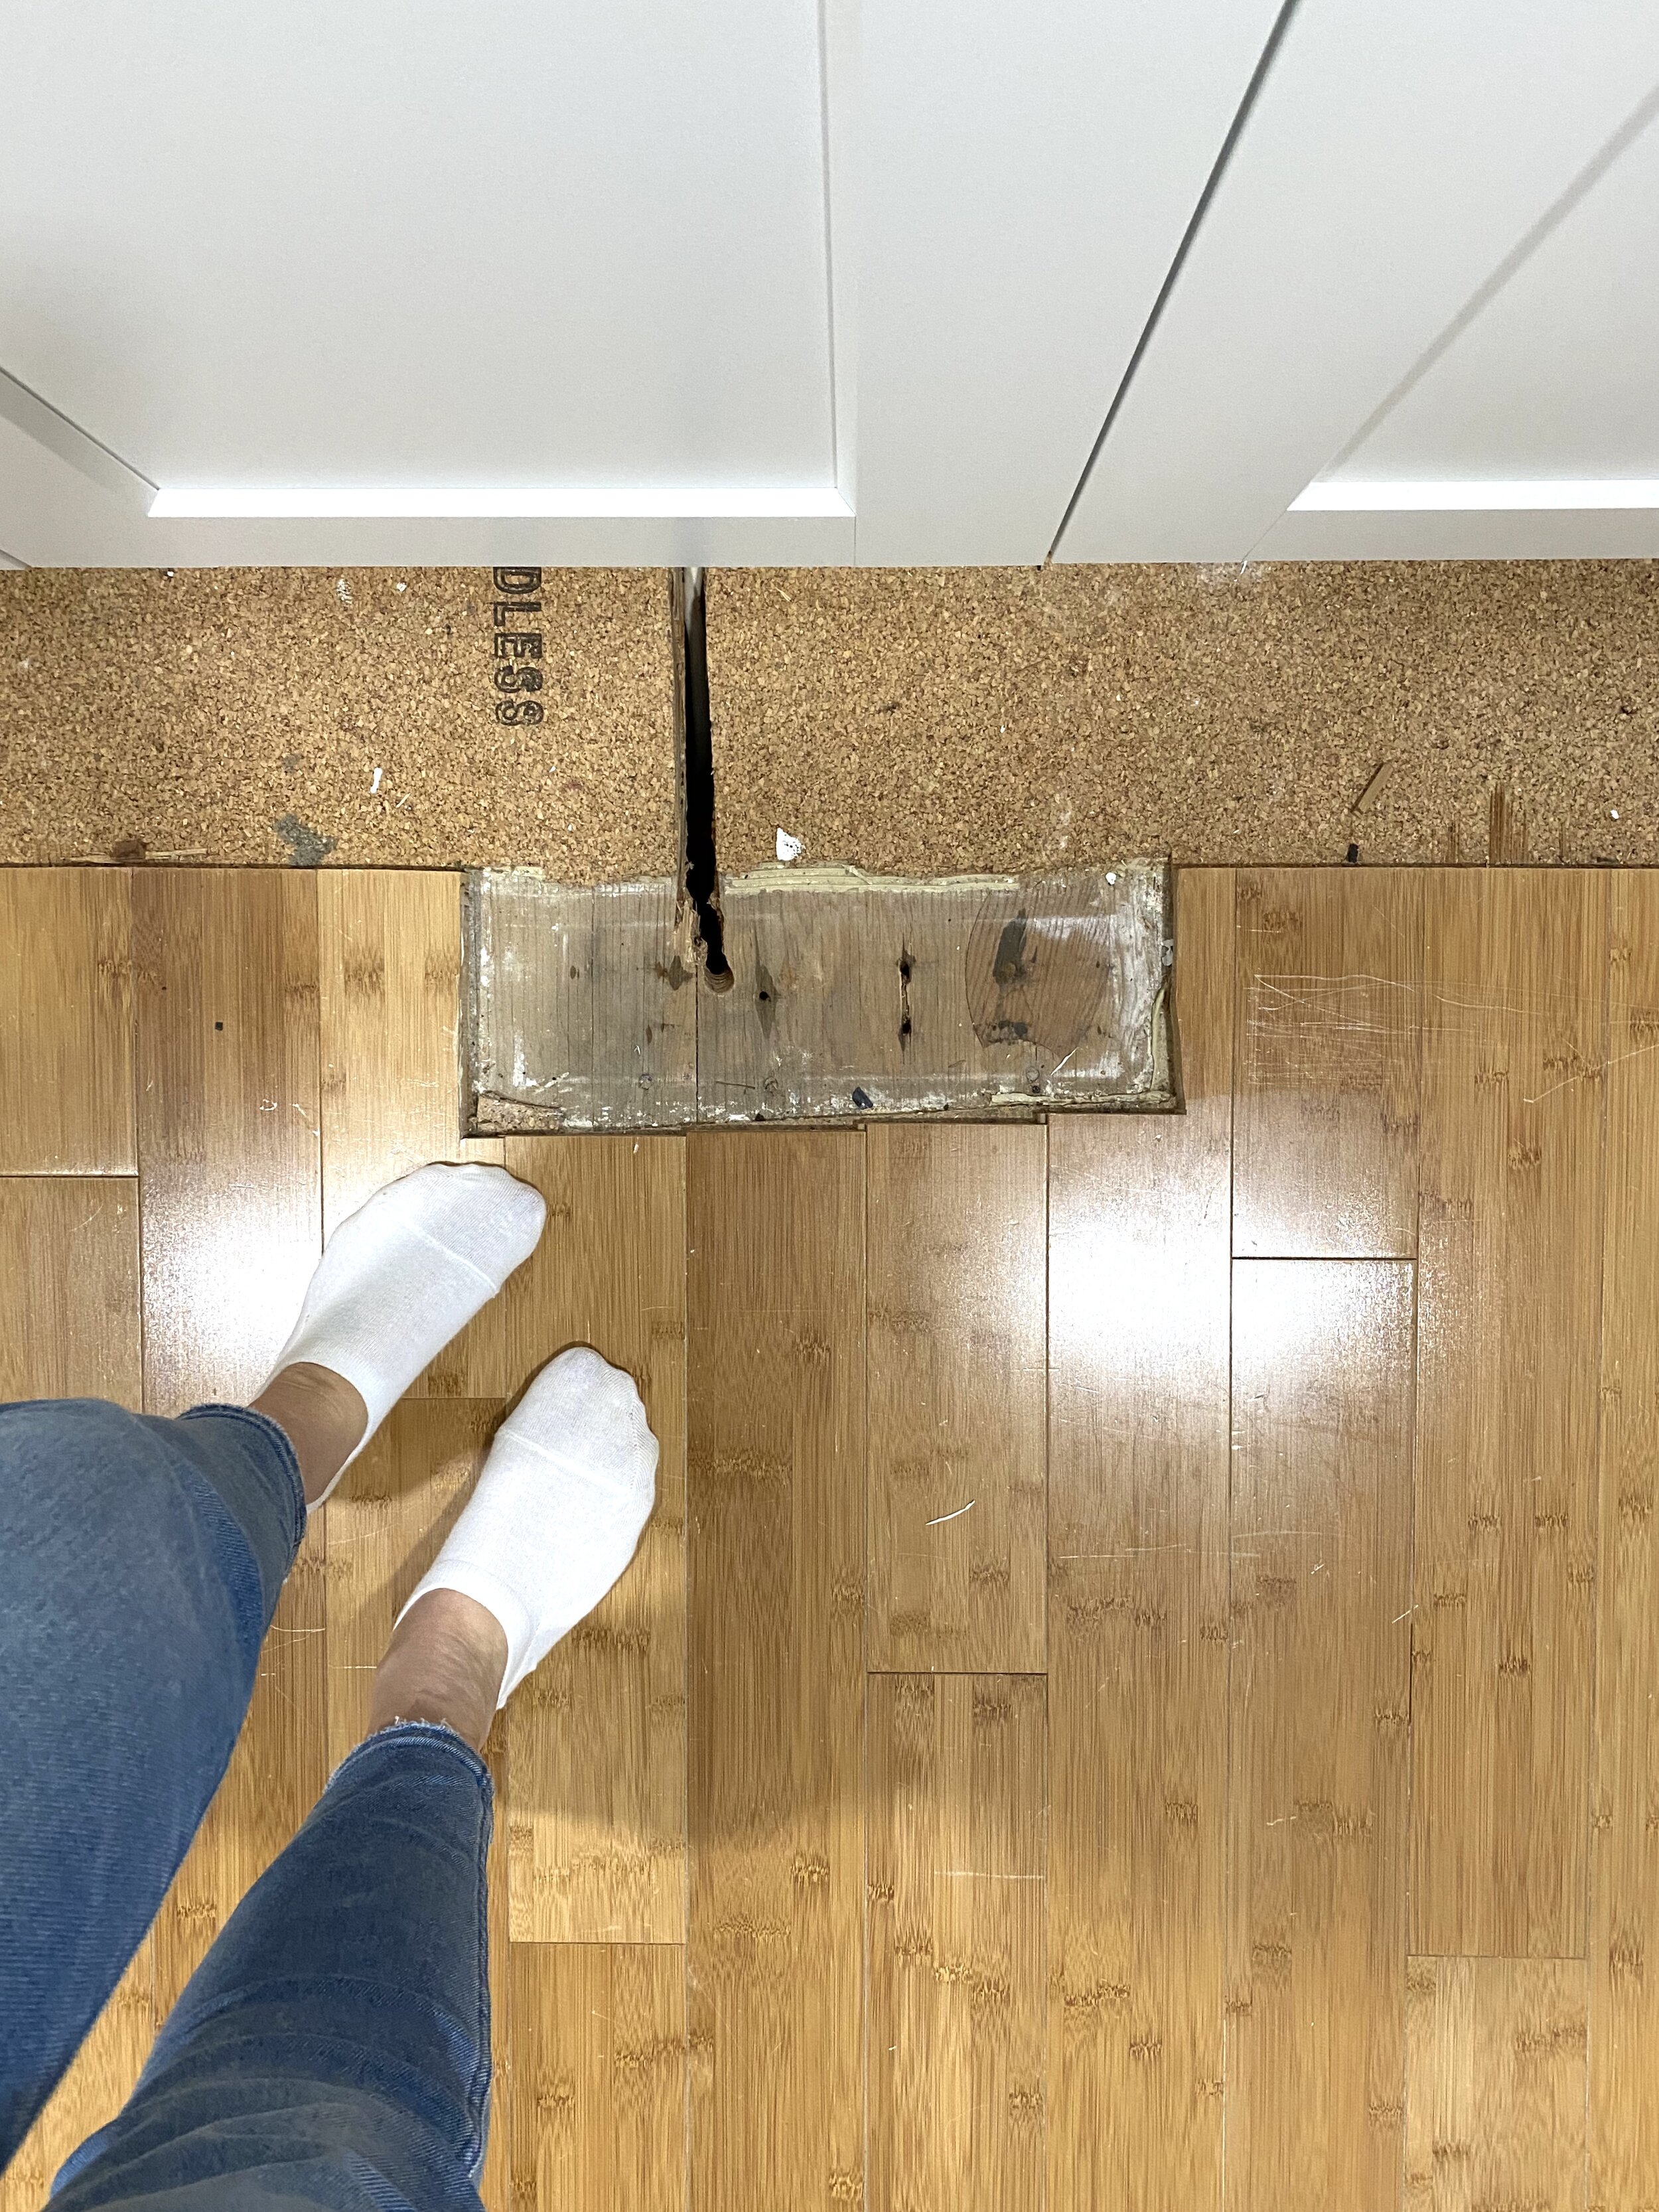
Flooring Issue/Design Solution
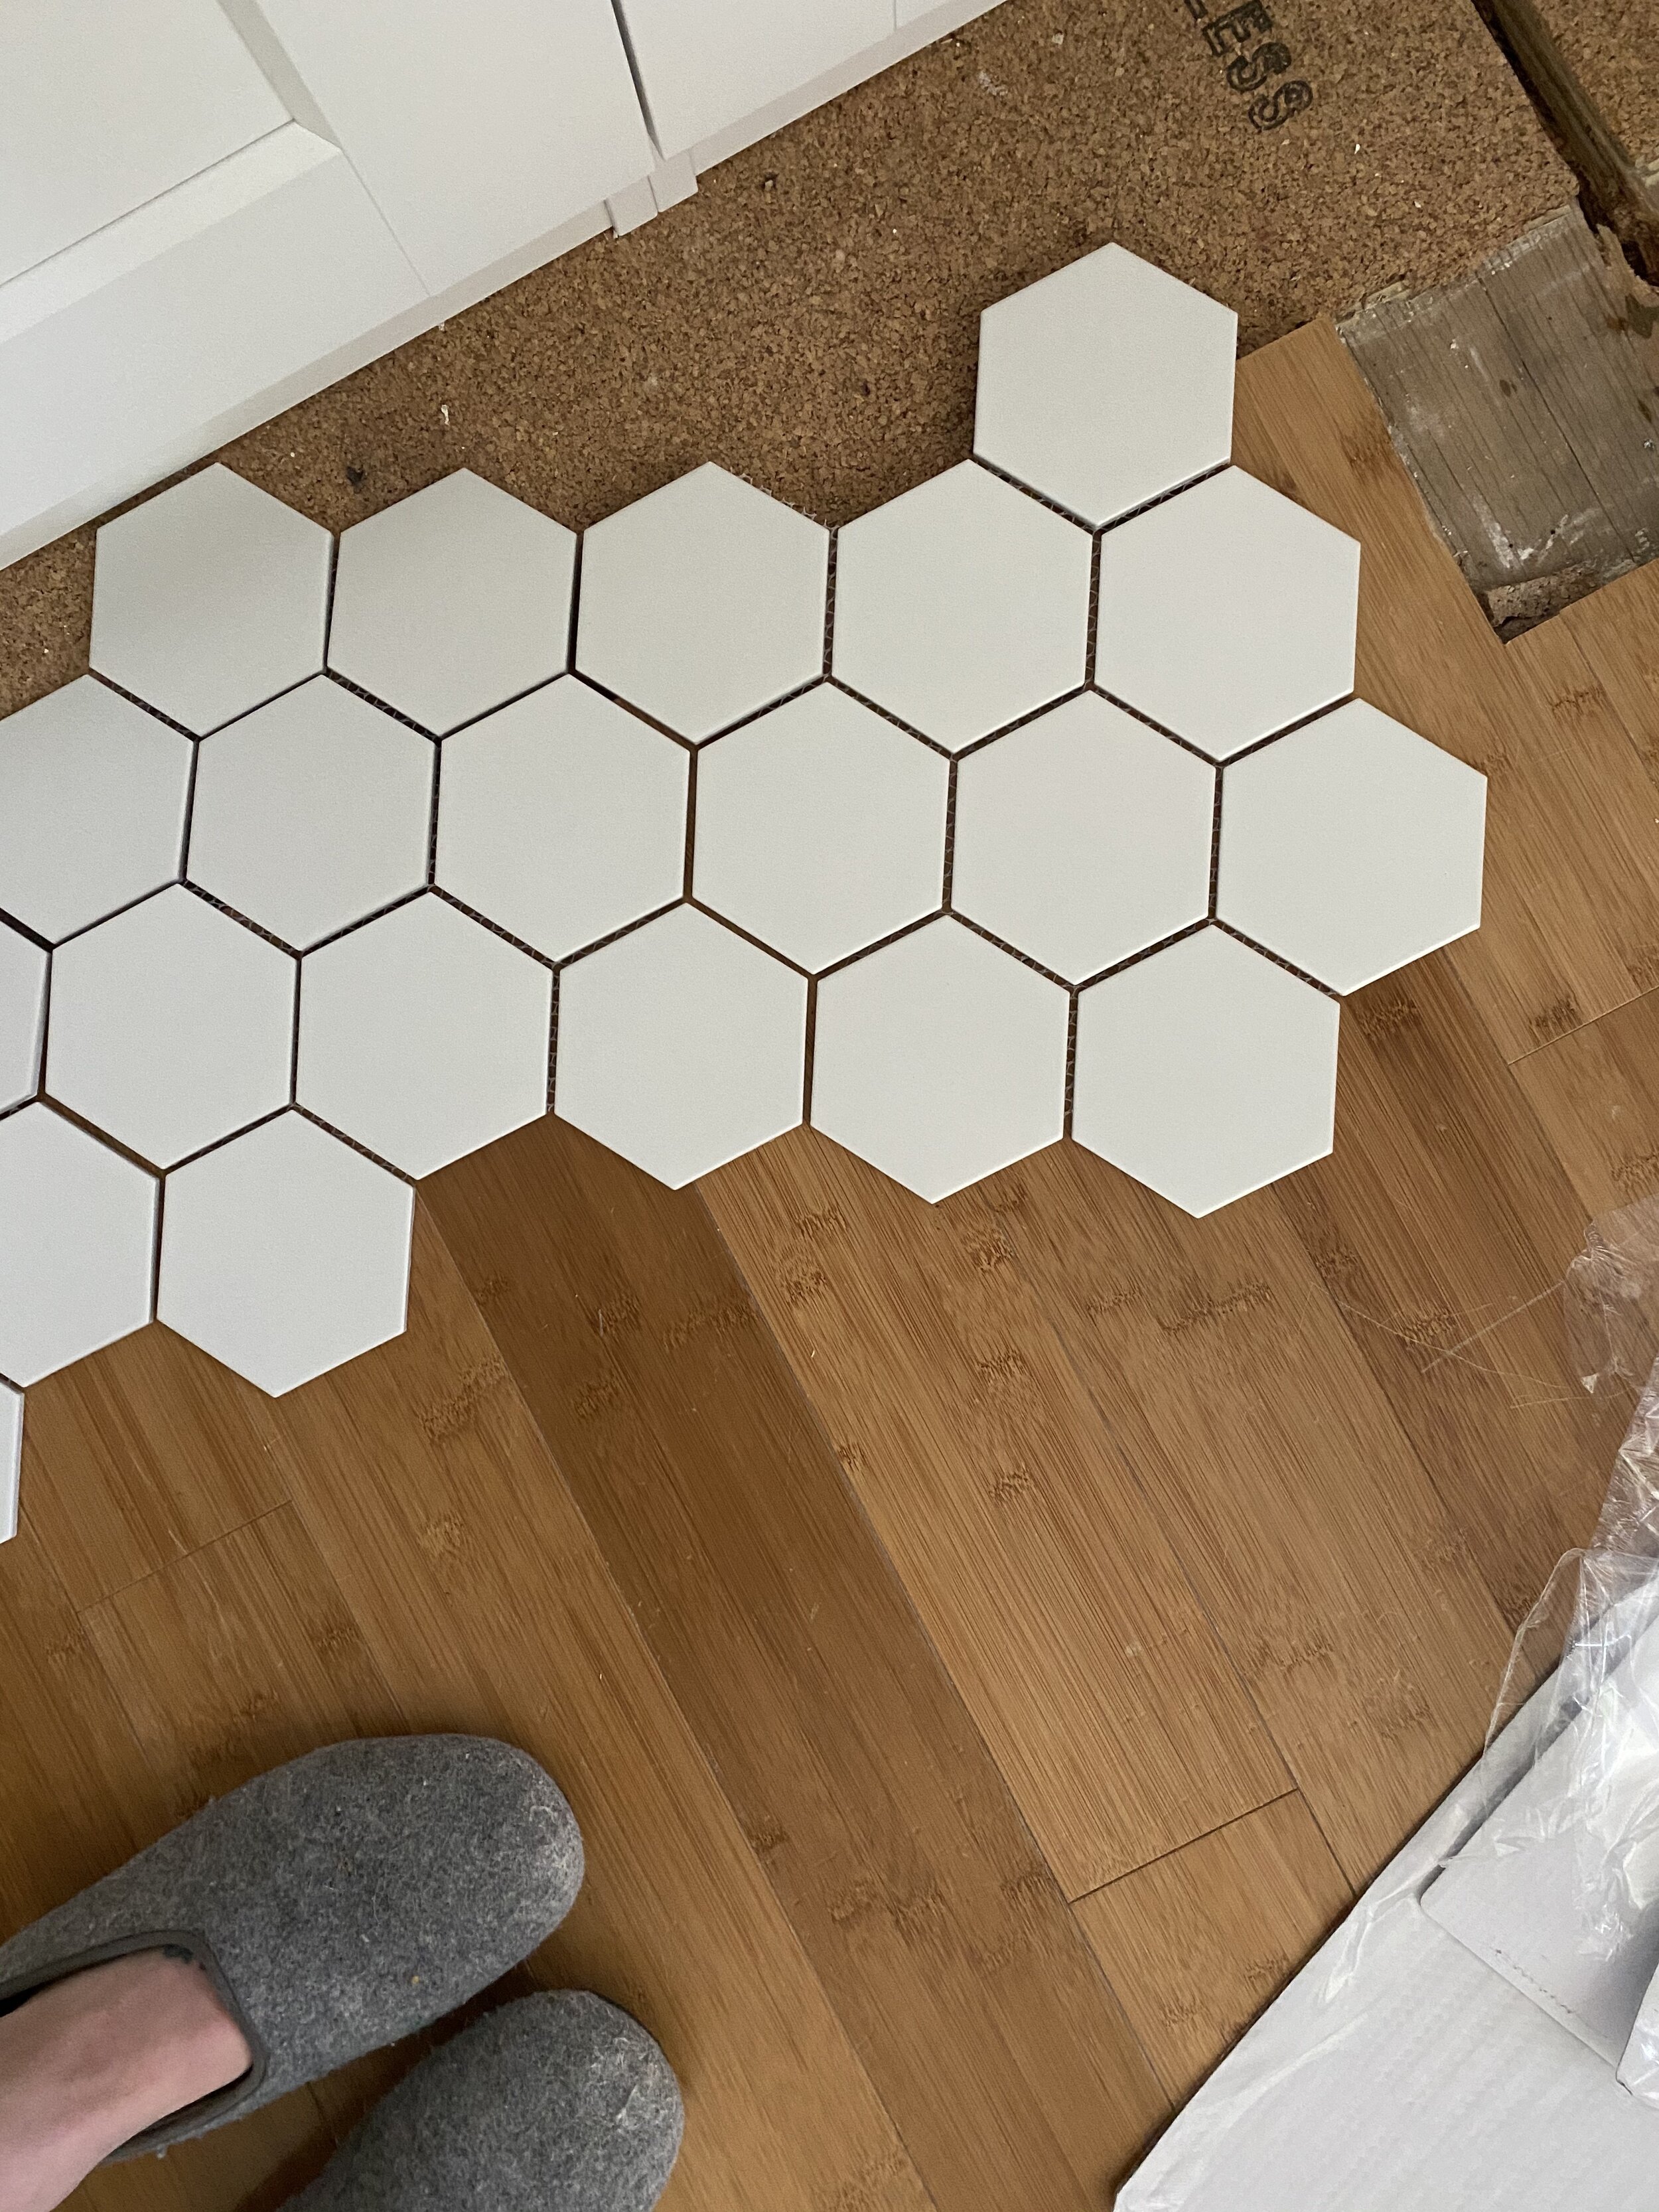
If you’ve been following my project come together via Instagram, you’ll know that I hit a snag with the flooring after taking the old closet out. The flooring was just run up to the center column, therefore leaving a huge hole in the middle of the room. And the closet now set back almost 10” from where it was originally. Although I would love to replace or at least refinished all the floors upstairs in our home, I just am not in a place where I can take that on right now. Down the road when the kids are a bit older, I’m in! So, I’m getting creative and I’m pretty sure I’m going to attempt to run tile up to my existing hardwoods in a pretty unique manner - eeeeeek! I’m NOT saying it’s going to be easy, but I’m feeling determined and what to do something brave.


So, there you have it. I think this upcoming week, I’m going to only focus on wrapping up the doors and attempting to make this new flooring transition happen. Pretty sure I’m going to have my hands full with just those two big ticket items! Wish me luck!

Thank you so much for stopping by and checking in! Can’t wait to see what I’ll have to share with you all next week.
happy designing
heather-scherie