One Room Challenge | Week 4 The Details Keep on Comin'

Well… The good news is that I made a TON of progress this week. However, I didn’t quite get my two big to-do items completed. With that being said, I’m proud of myself for being patient and not rushing big decisions and completely learning an entirely new skill! Progress over perfection, right?! I’m going with it.
If you’re not familiar with what the One Room Challenge is, let me fill you in real quick. Each season, (Fall and Spring), twenty featured designers are selected to share their talents with all of those who love design and a serious Before & After. Be sure to check in on those folks right here and be ready to be inspired! In addition, other lovers of design, DIYers, Designers and everyone in between are invited to participate as Guest Participants to show off their projects on the hosts site as well. You can see all of the other spectacular talent here.


Welcome!
If you’re new here, Hi! I’m Heather-Scherie. I’ve been a professional Interior Designer for what feels like eons now. I’m the owner of Whitestone Design Group based in the Greater Seattle Area. I’m a lover of DIY’s, all things design, and life in general. I have two delectable little boys, ages one and three, and am the wife to my handsome hubs that embraces all my needs to turn everything into a project!
The Tile Solution
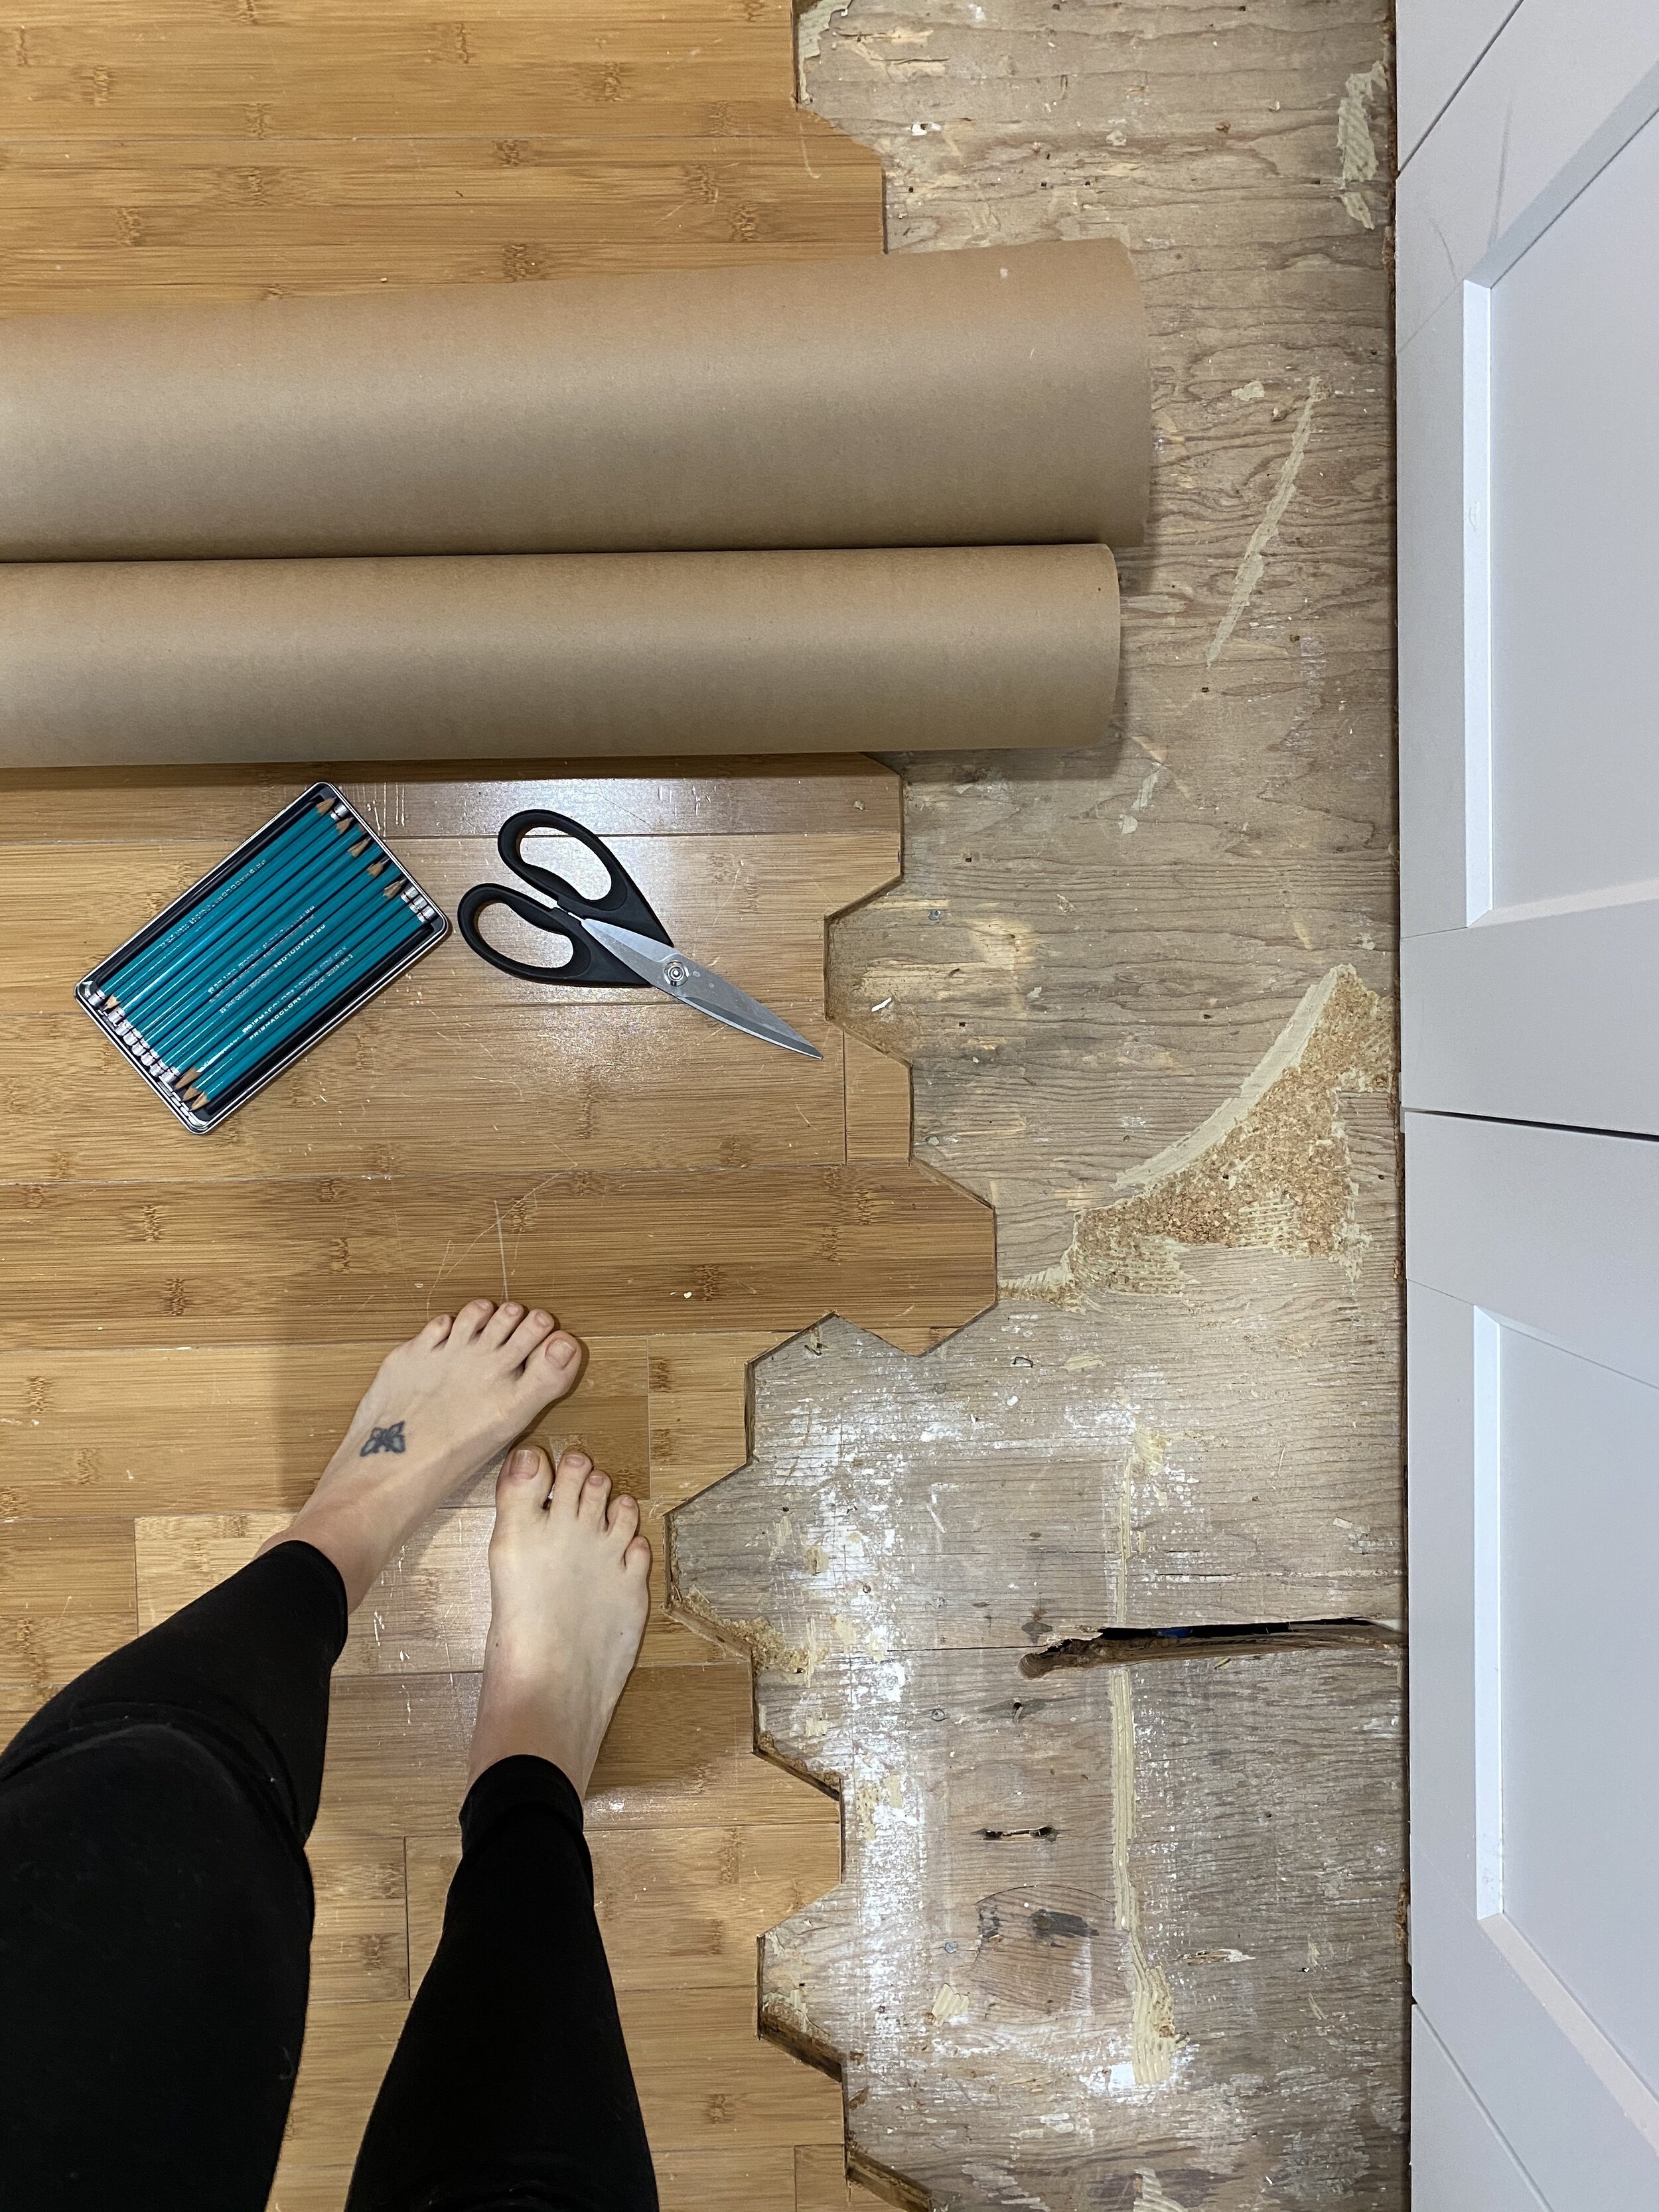
Hip hip, hooray! I knew this was going to be a bold decision… I could have easily run a straight cut and run the tile from that line and back to the cabinet. I decided being straight forward just isn’t my style and by having a staggered pattern would look far more intention and less like a flooring issue I was trying to cover up. Hey, yes, I realize that I AM in fact, covering up a design issue, but between you and me, the next owner of this cute little house doesn’t need to know that! I found out when I was trying to find some guidance on how to tackle this, most tile inlay or wood inlay, I generally done first. And now, I know why, haha. But, where there’s a will, there’s a way, and I’m happy to report that I’ve made excellent progress!! I can’t believe I’ve actually done this my-friggin-self! I’ve had so many questions from people following along about how to do this and there’s sooooo little tutorials out there on it, that I promise all, I will answer all questions AND make a “how to” video to fill everyone in on what I used and how to make it happen. I didn’t realize that so many other people had the same issue!
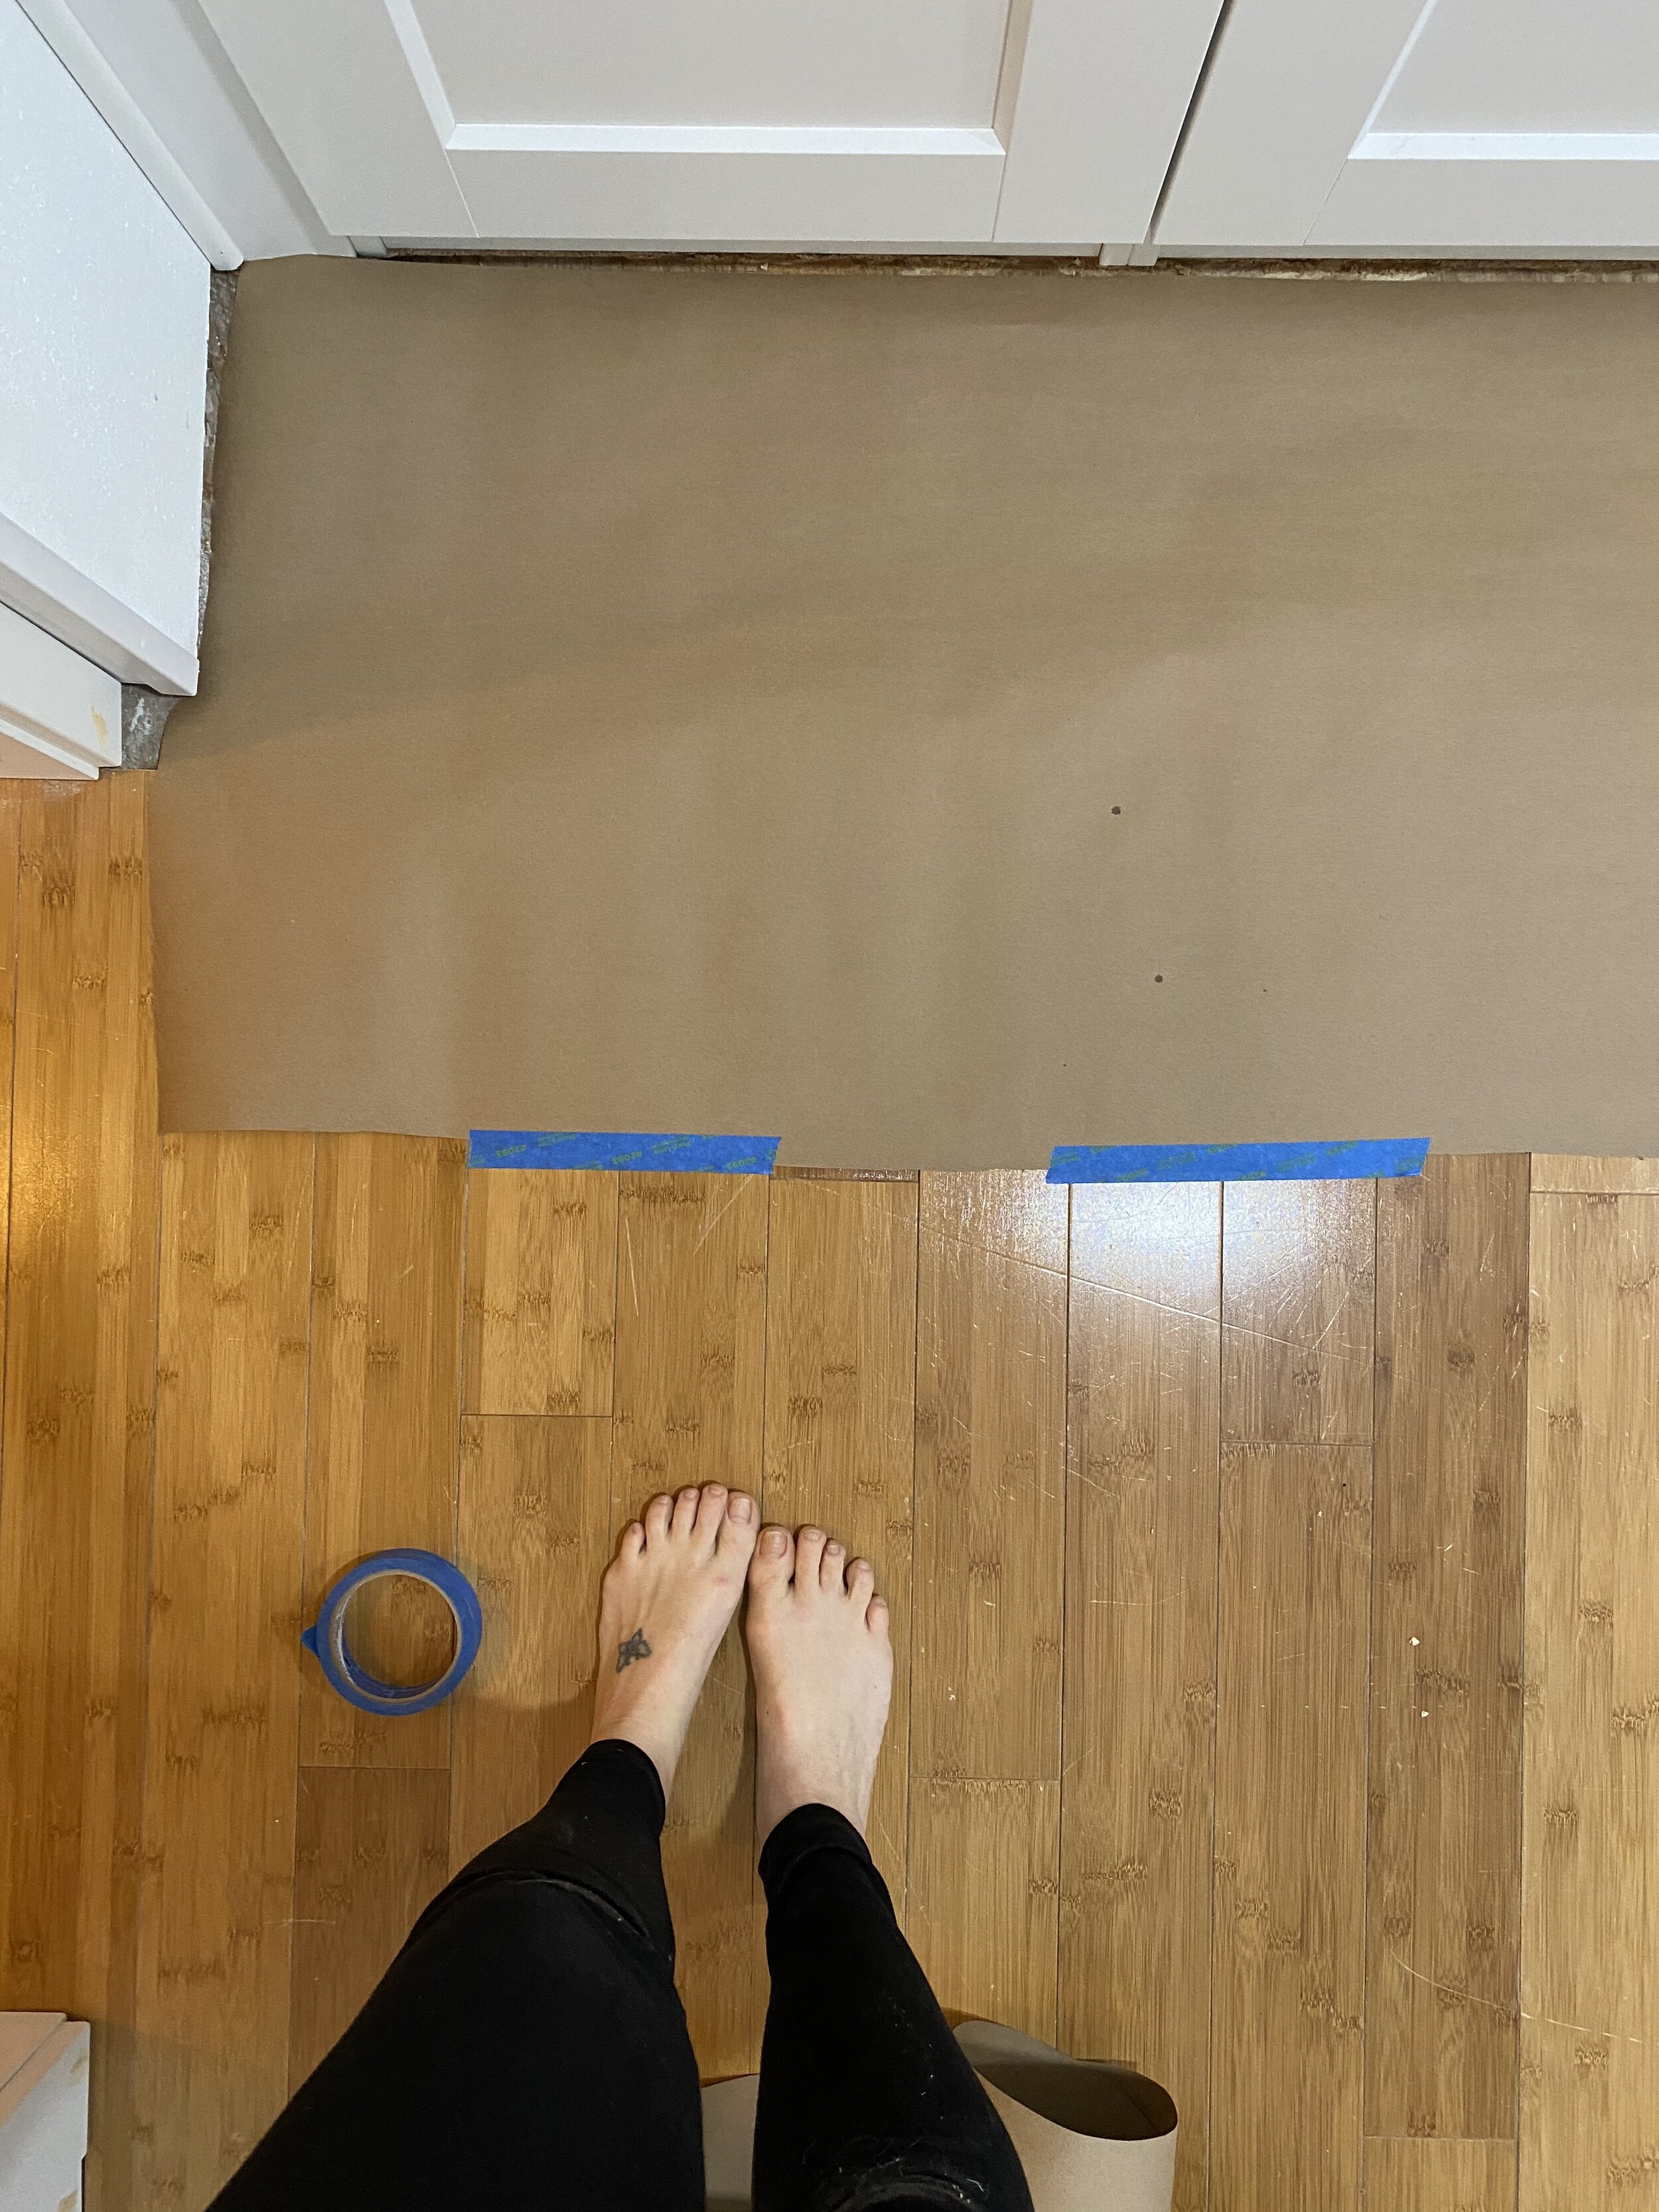
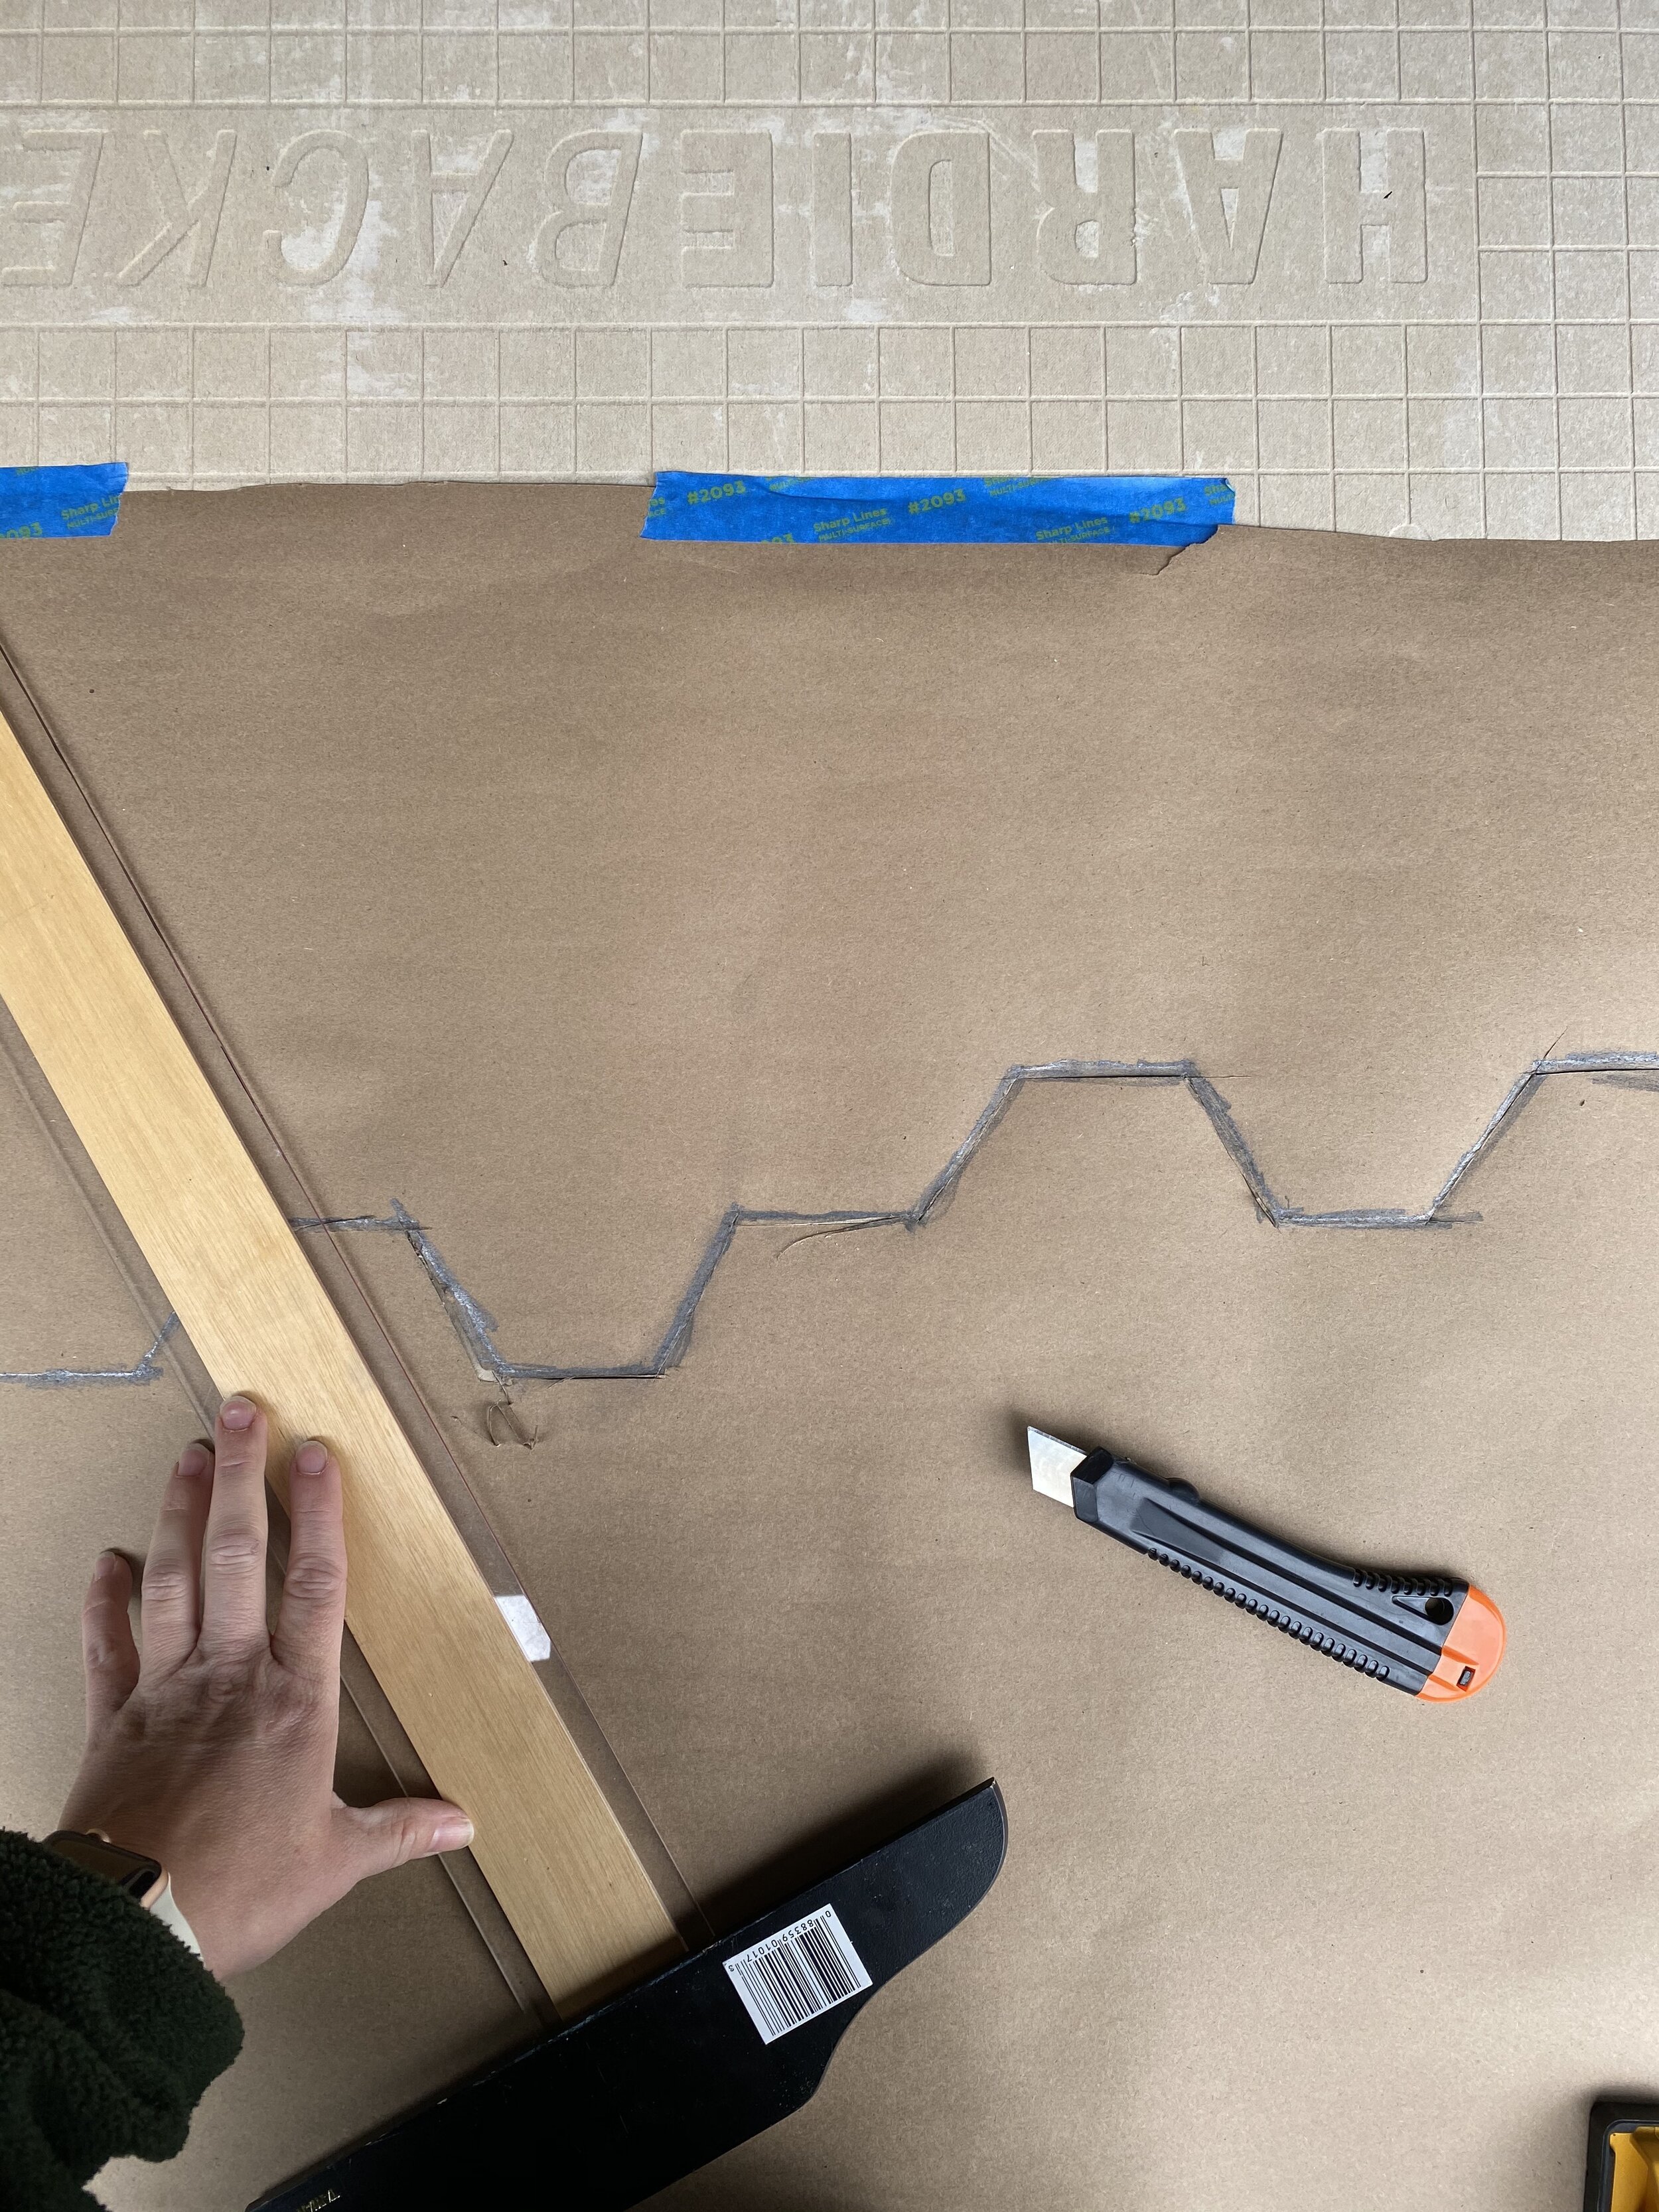
After using my new favorite tool, my Dremel MM50, to actually cut the pattern out of the hardwood floor, I used butcher paper to trace the line and make a template to cut my hardieback to lay on the subfloor for the tile. I always new I’d eventually get use out of those college drafting pencils again! And with sheer will and a crapton of Dremel replacement blades, I cut my pattern into the Hardieback and screwed it into place. For me, cutting the hardieback was definitely the hardest part of the process this far.


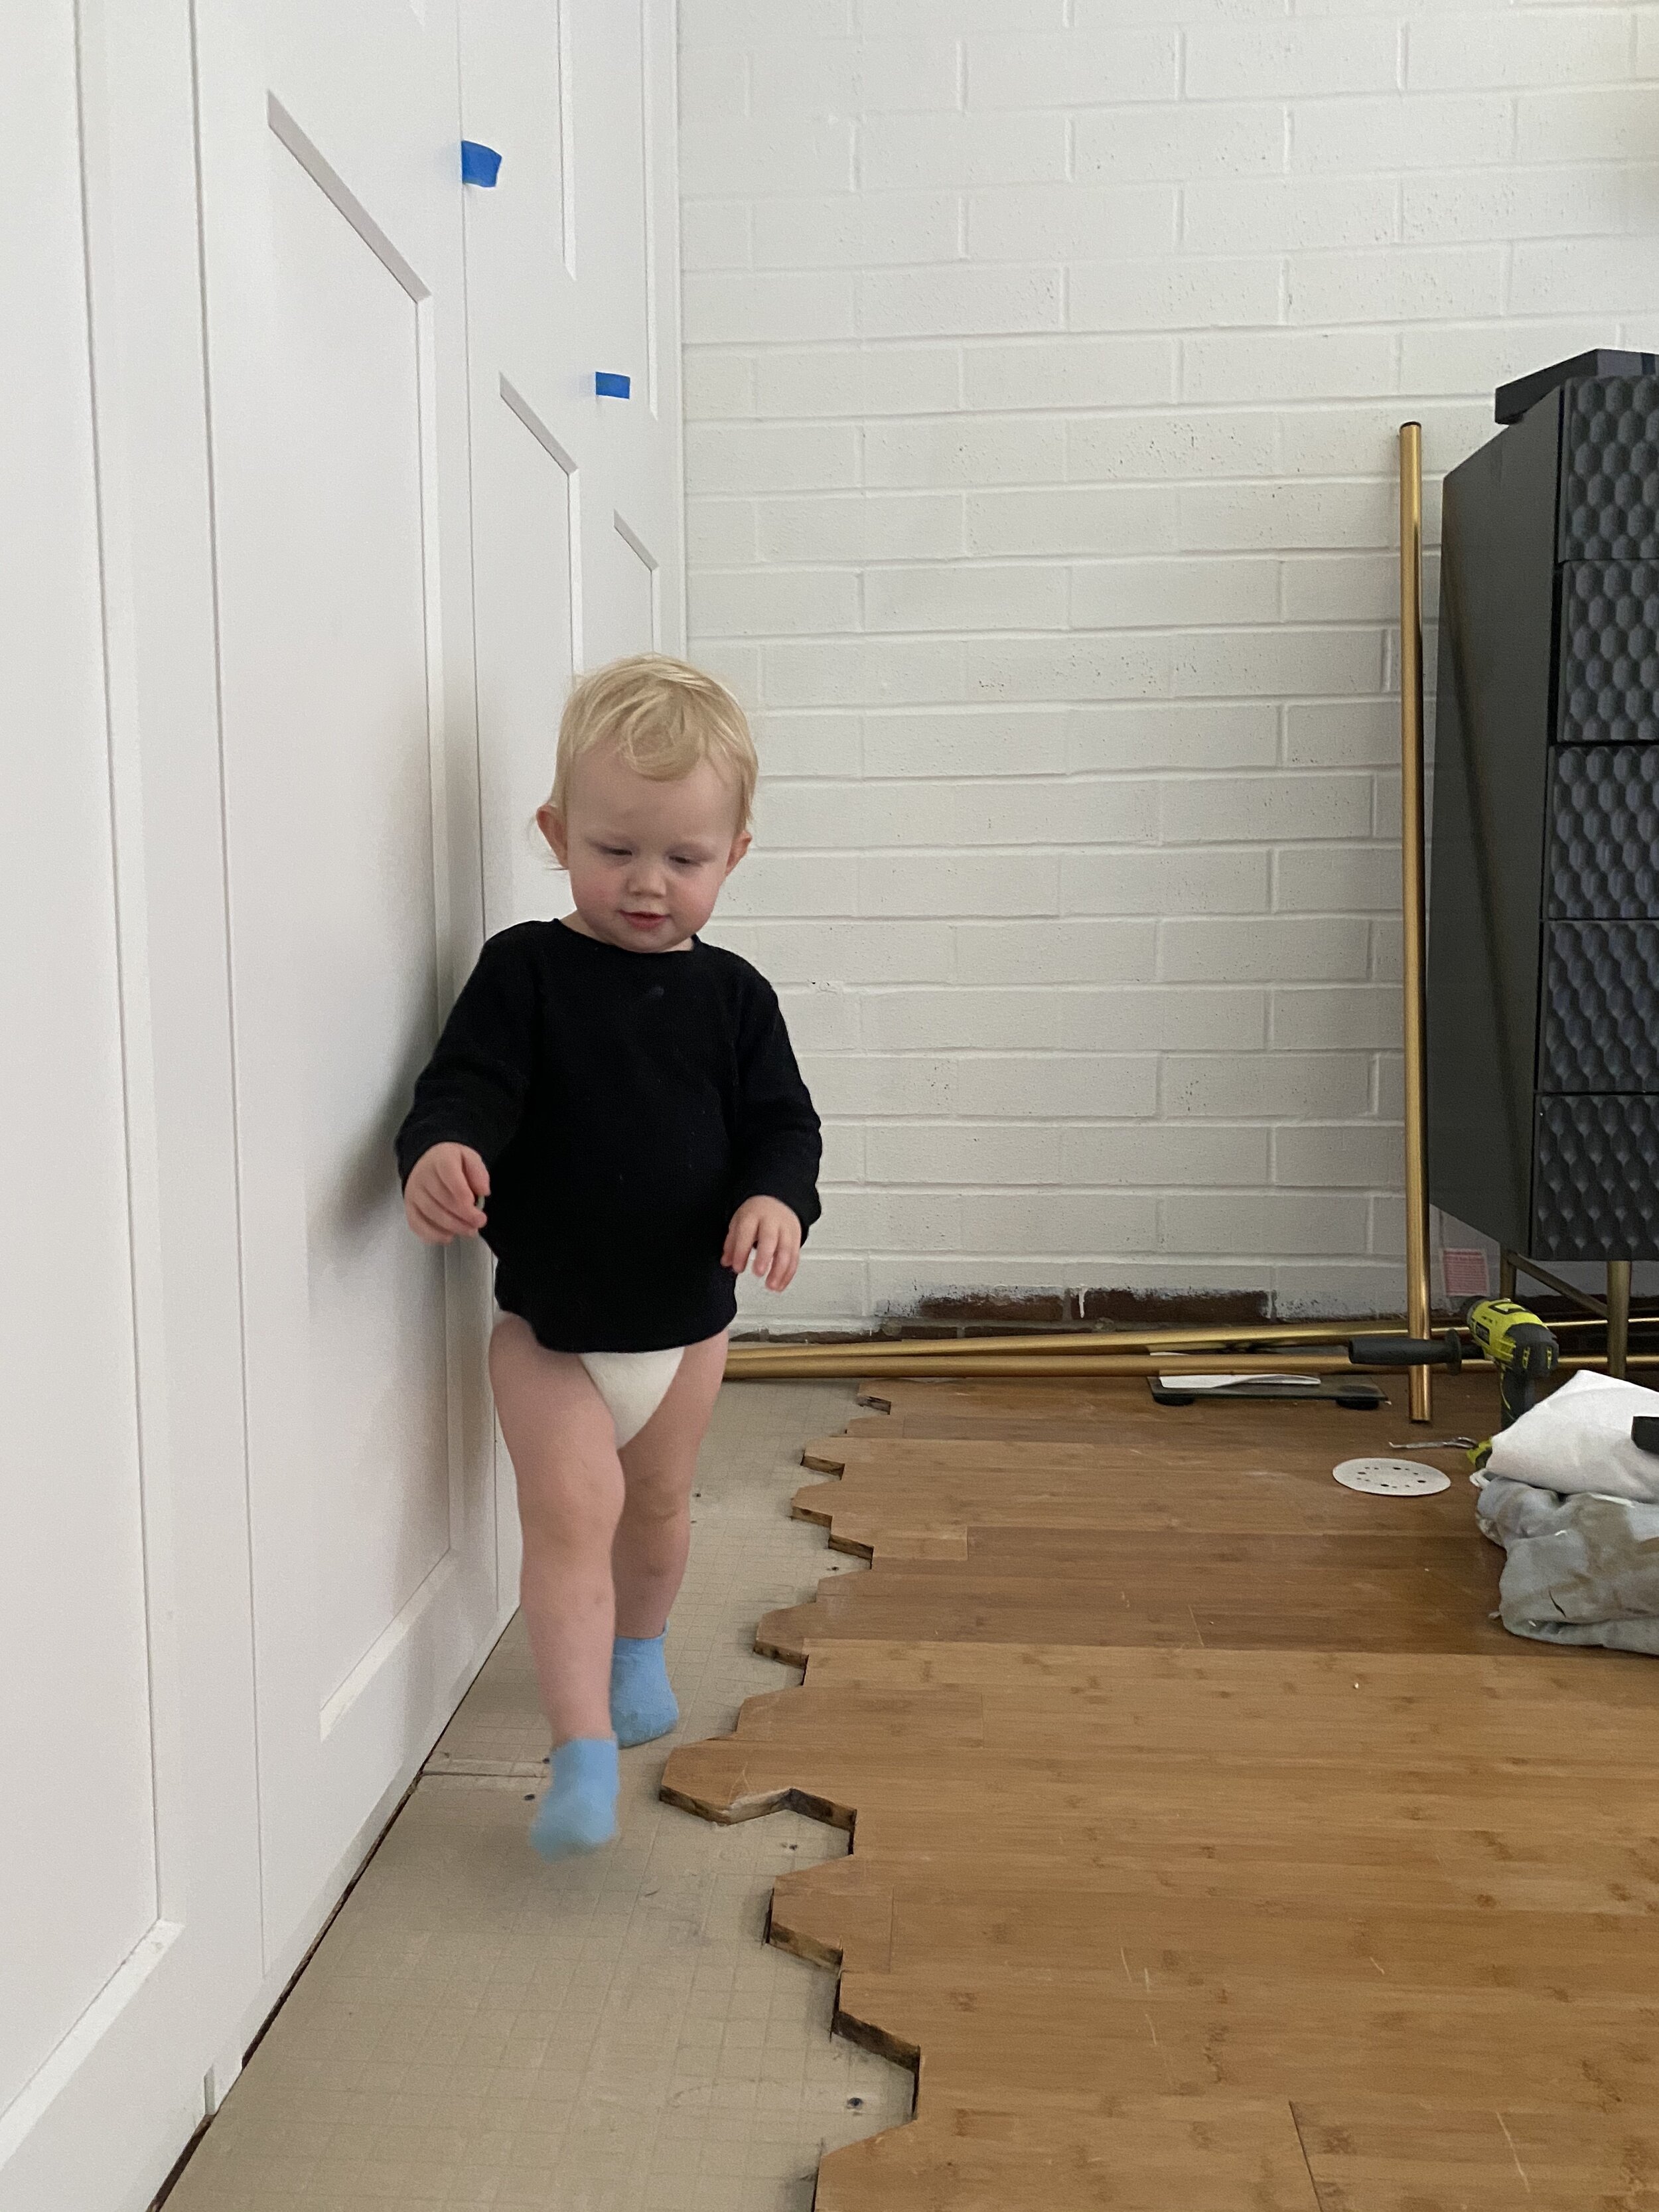
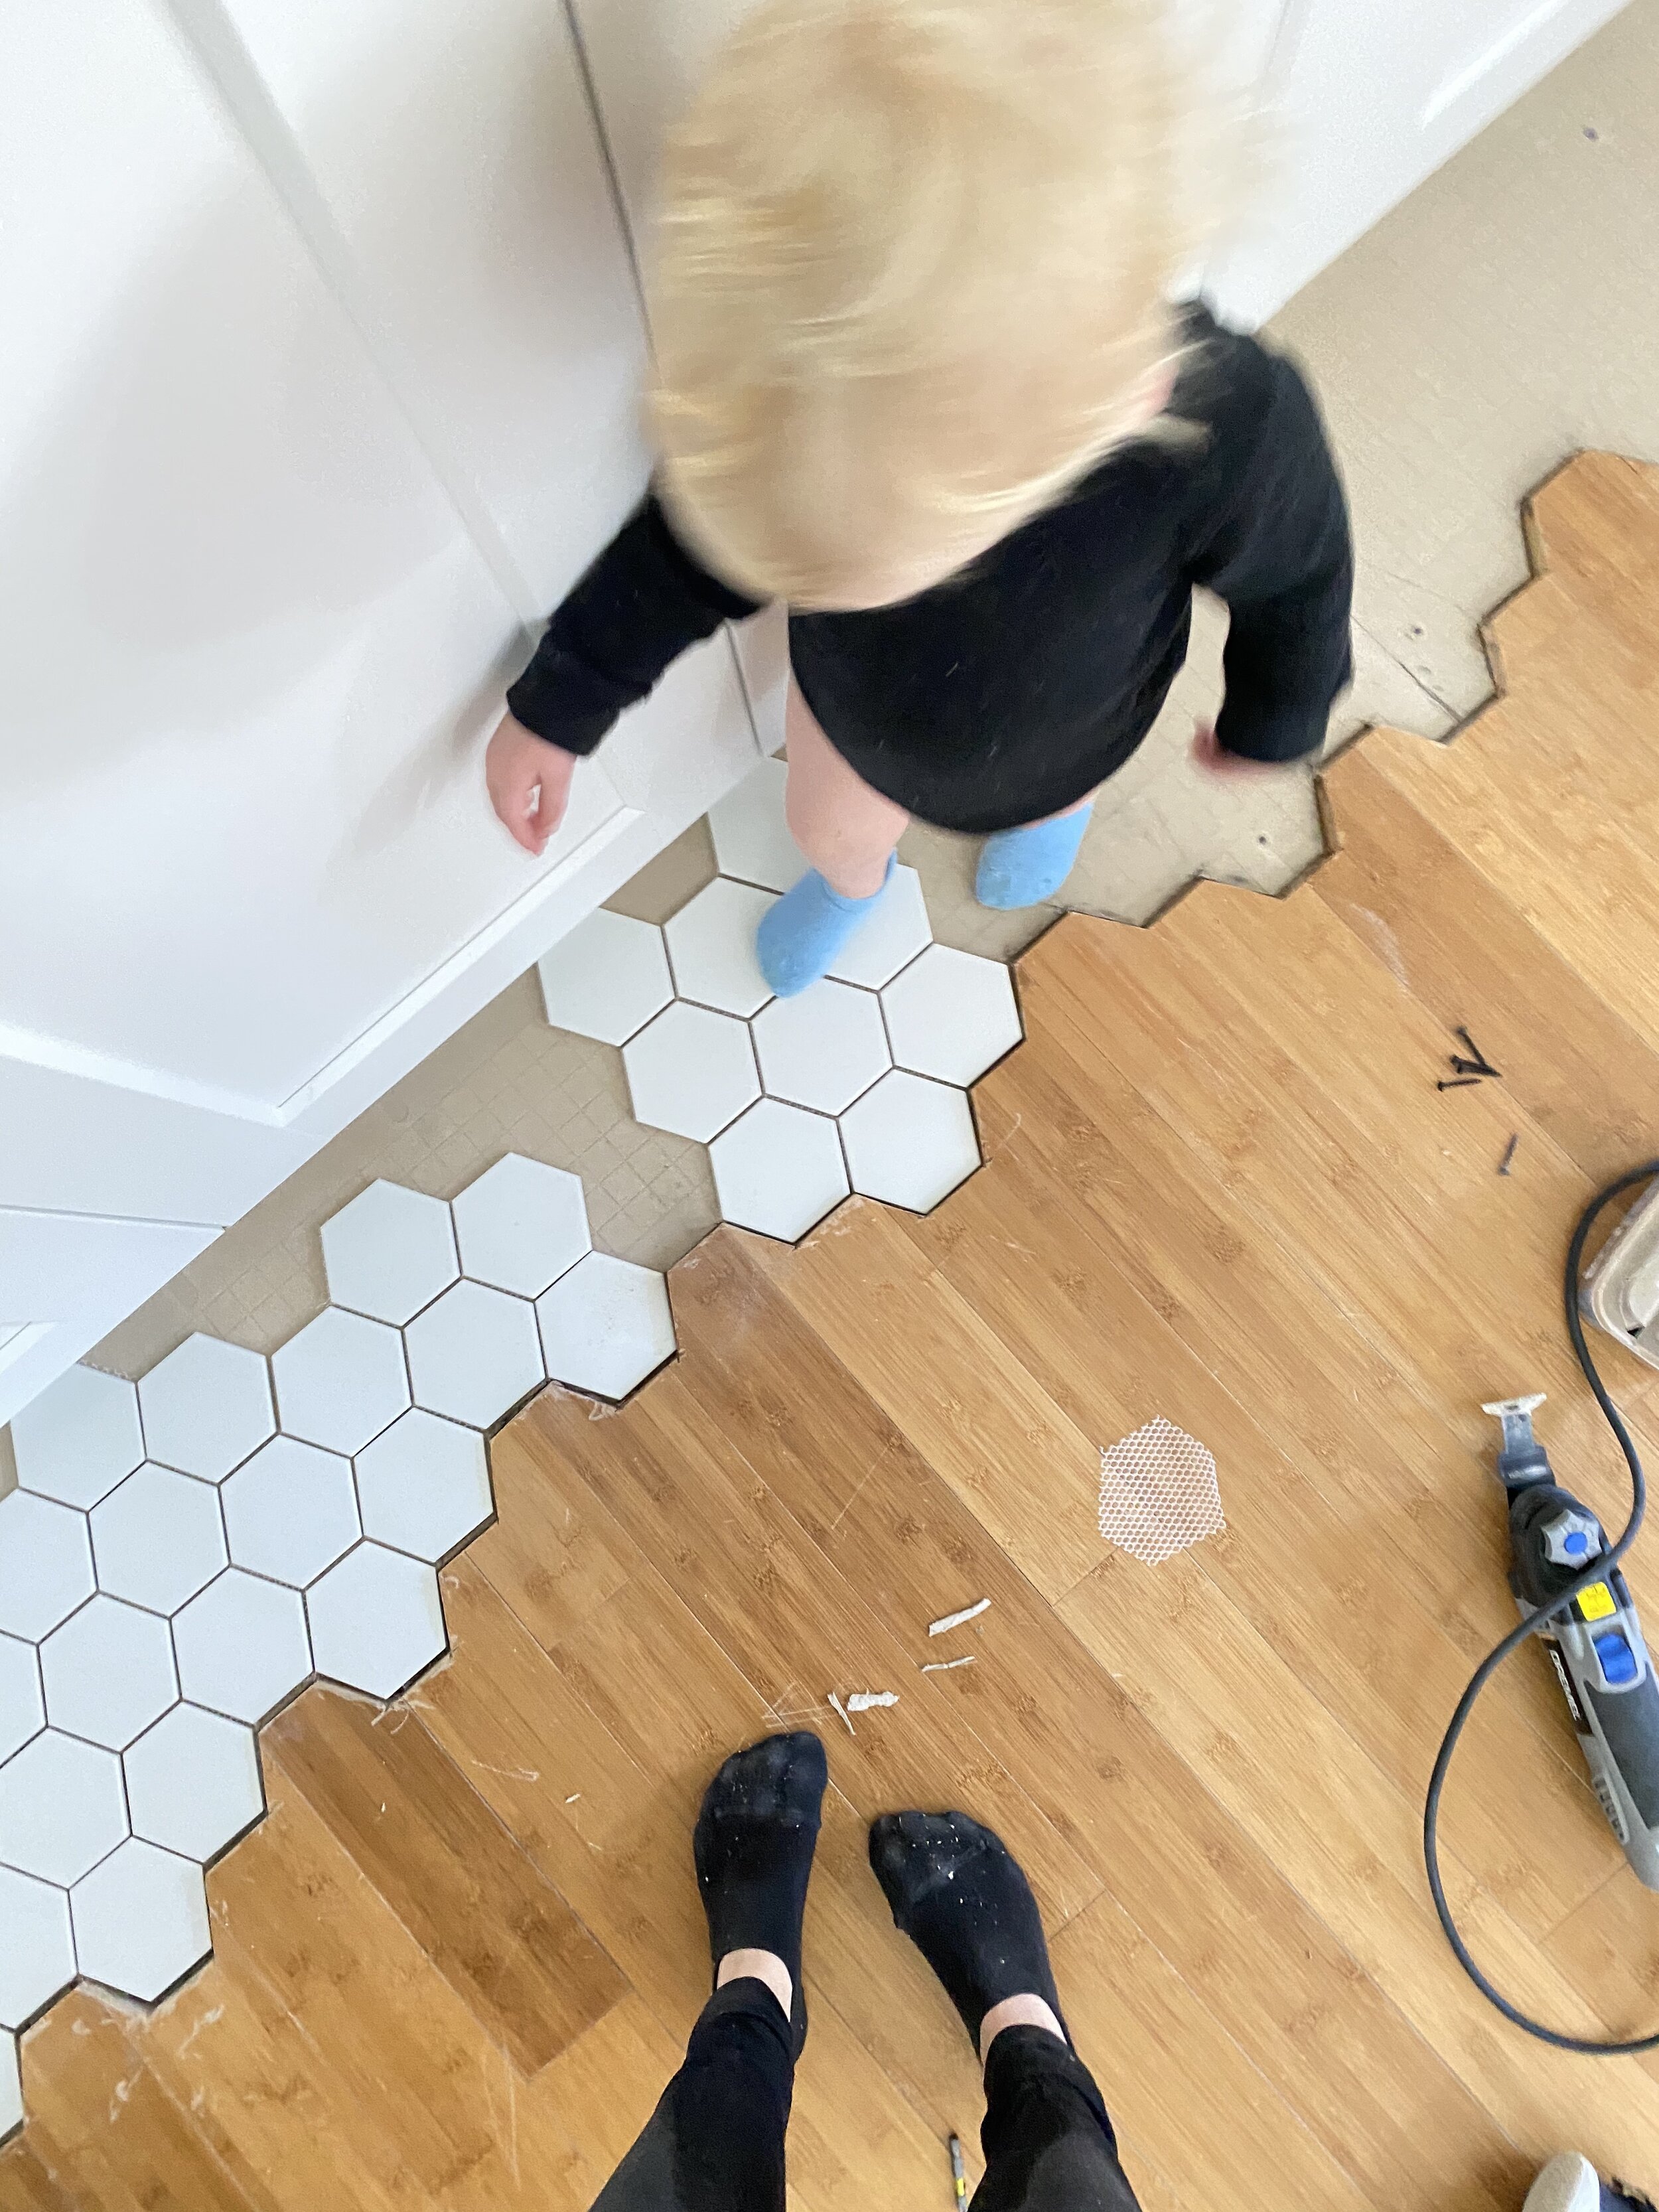
Who knew this would end up becoming such a Fun Zone for the kiddos?!
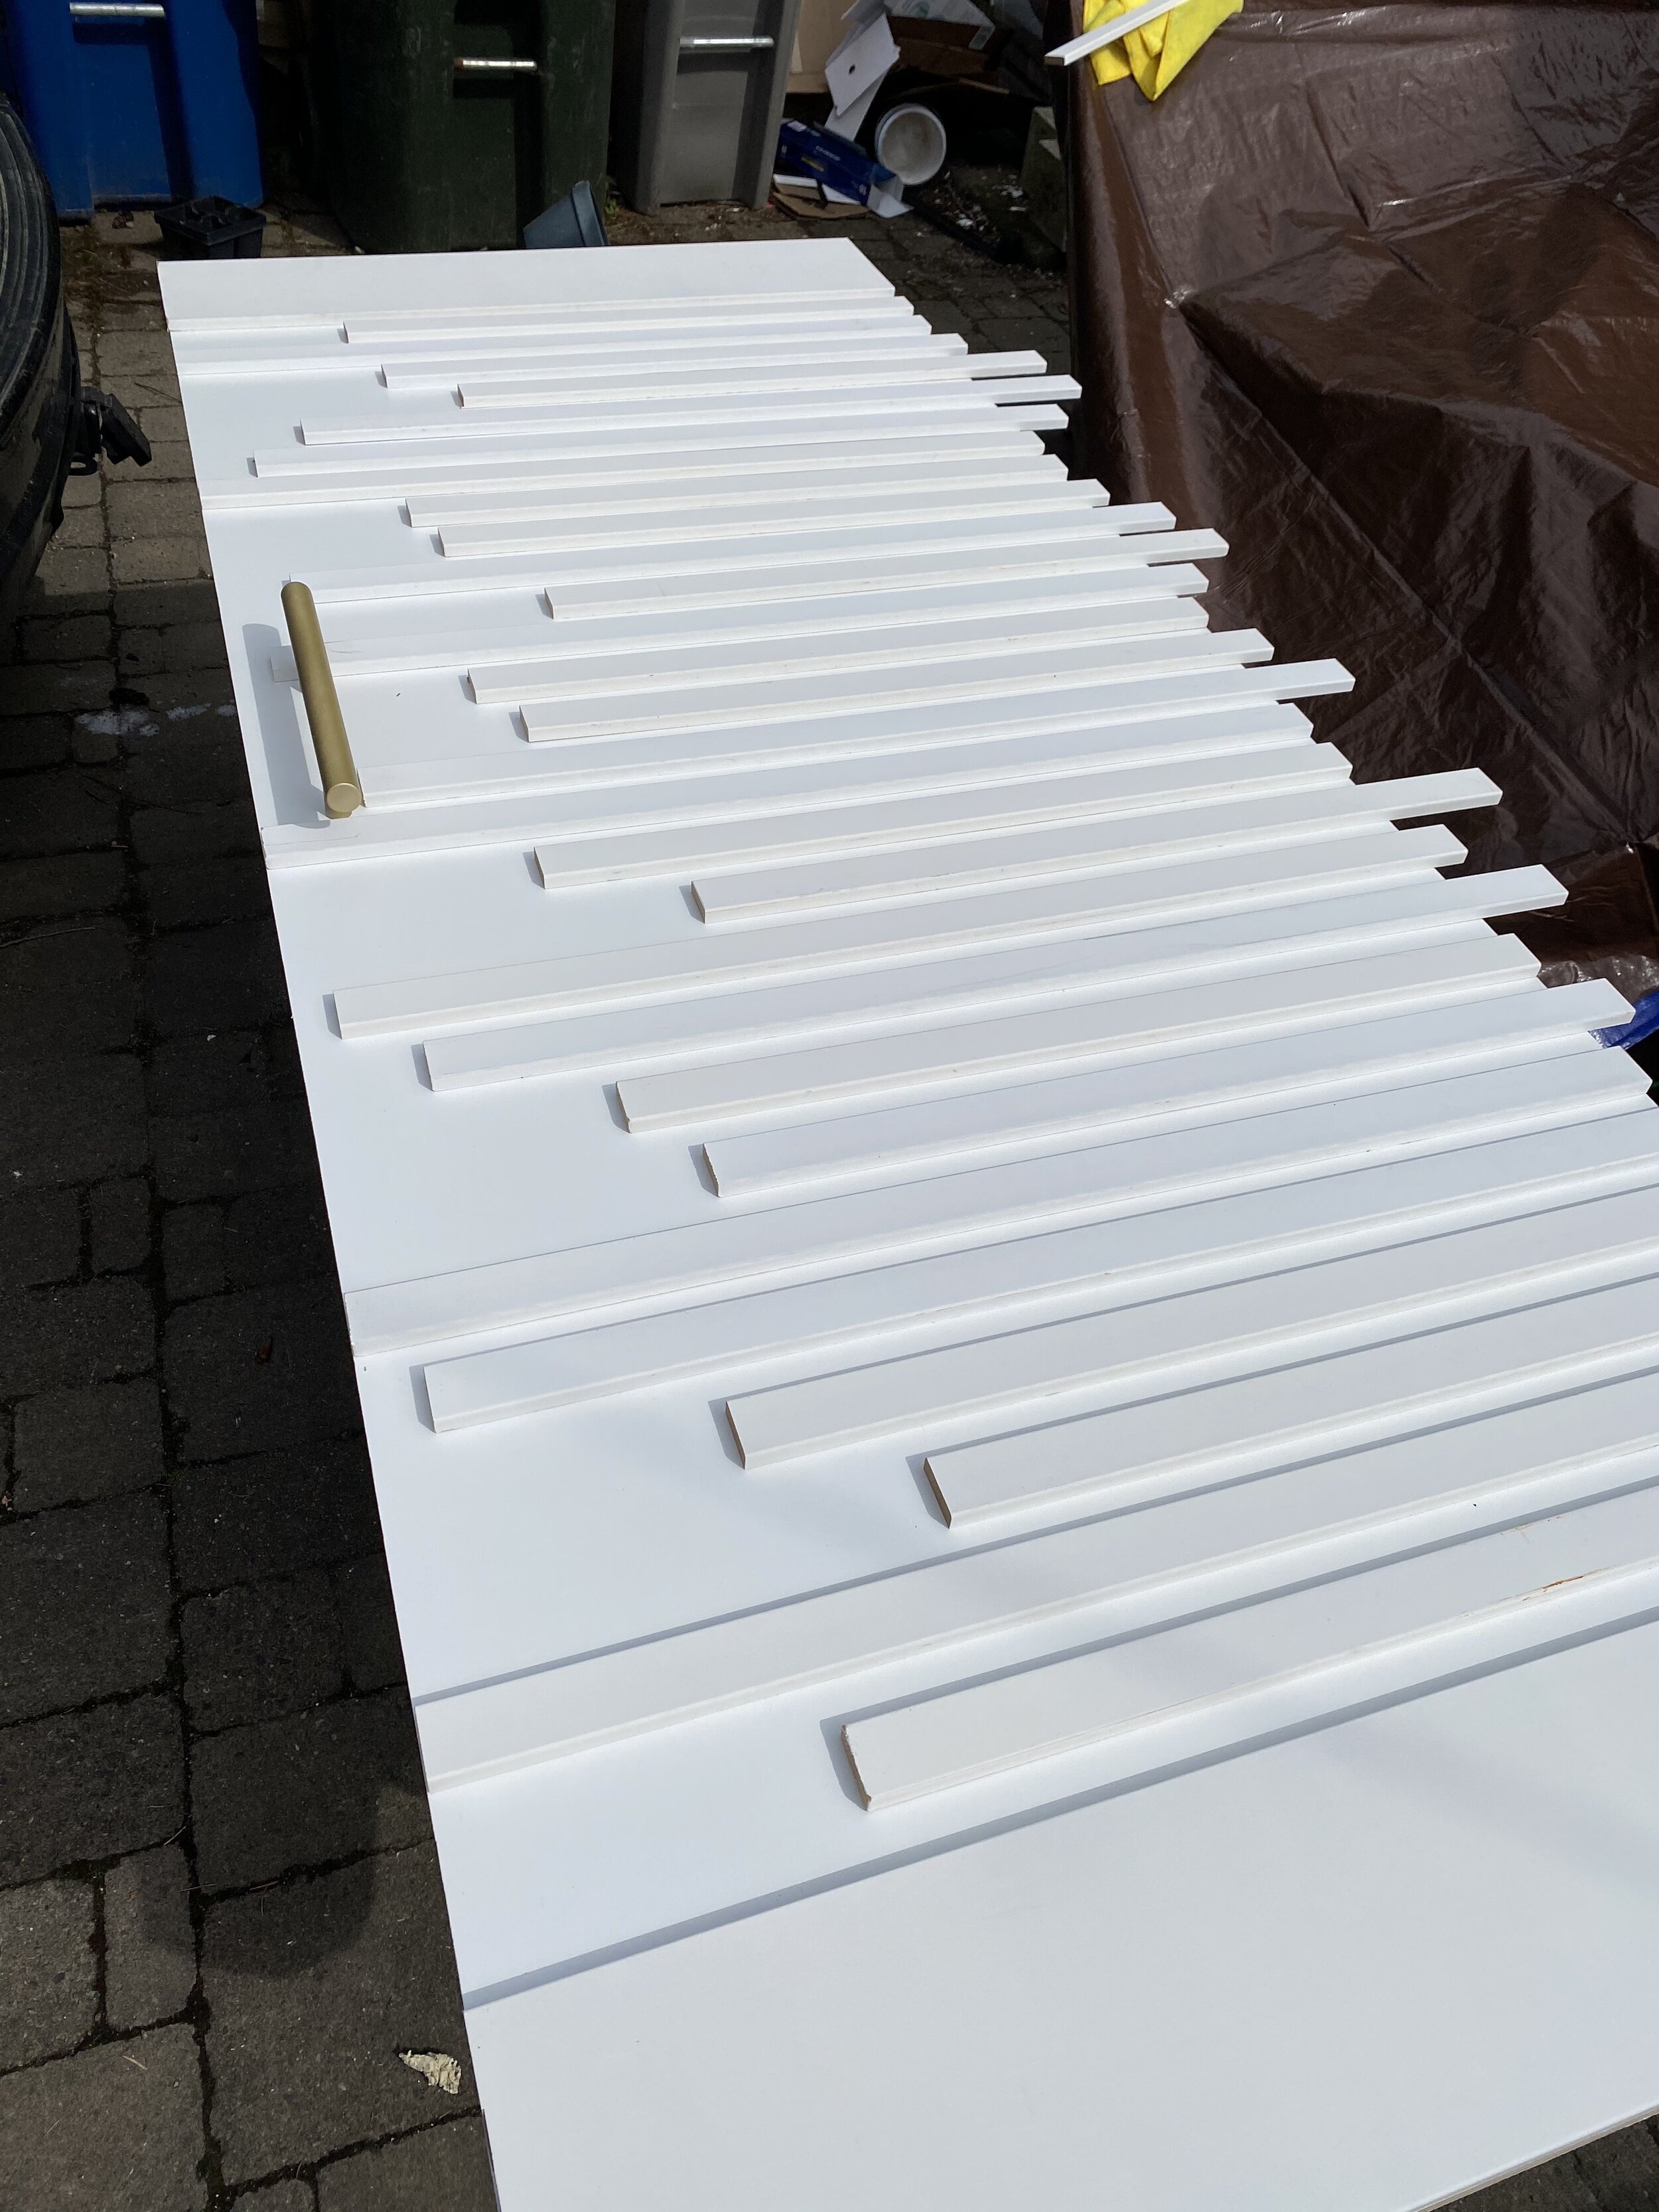
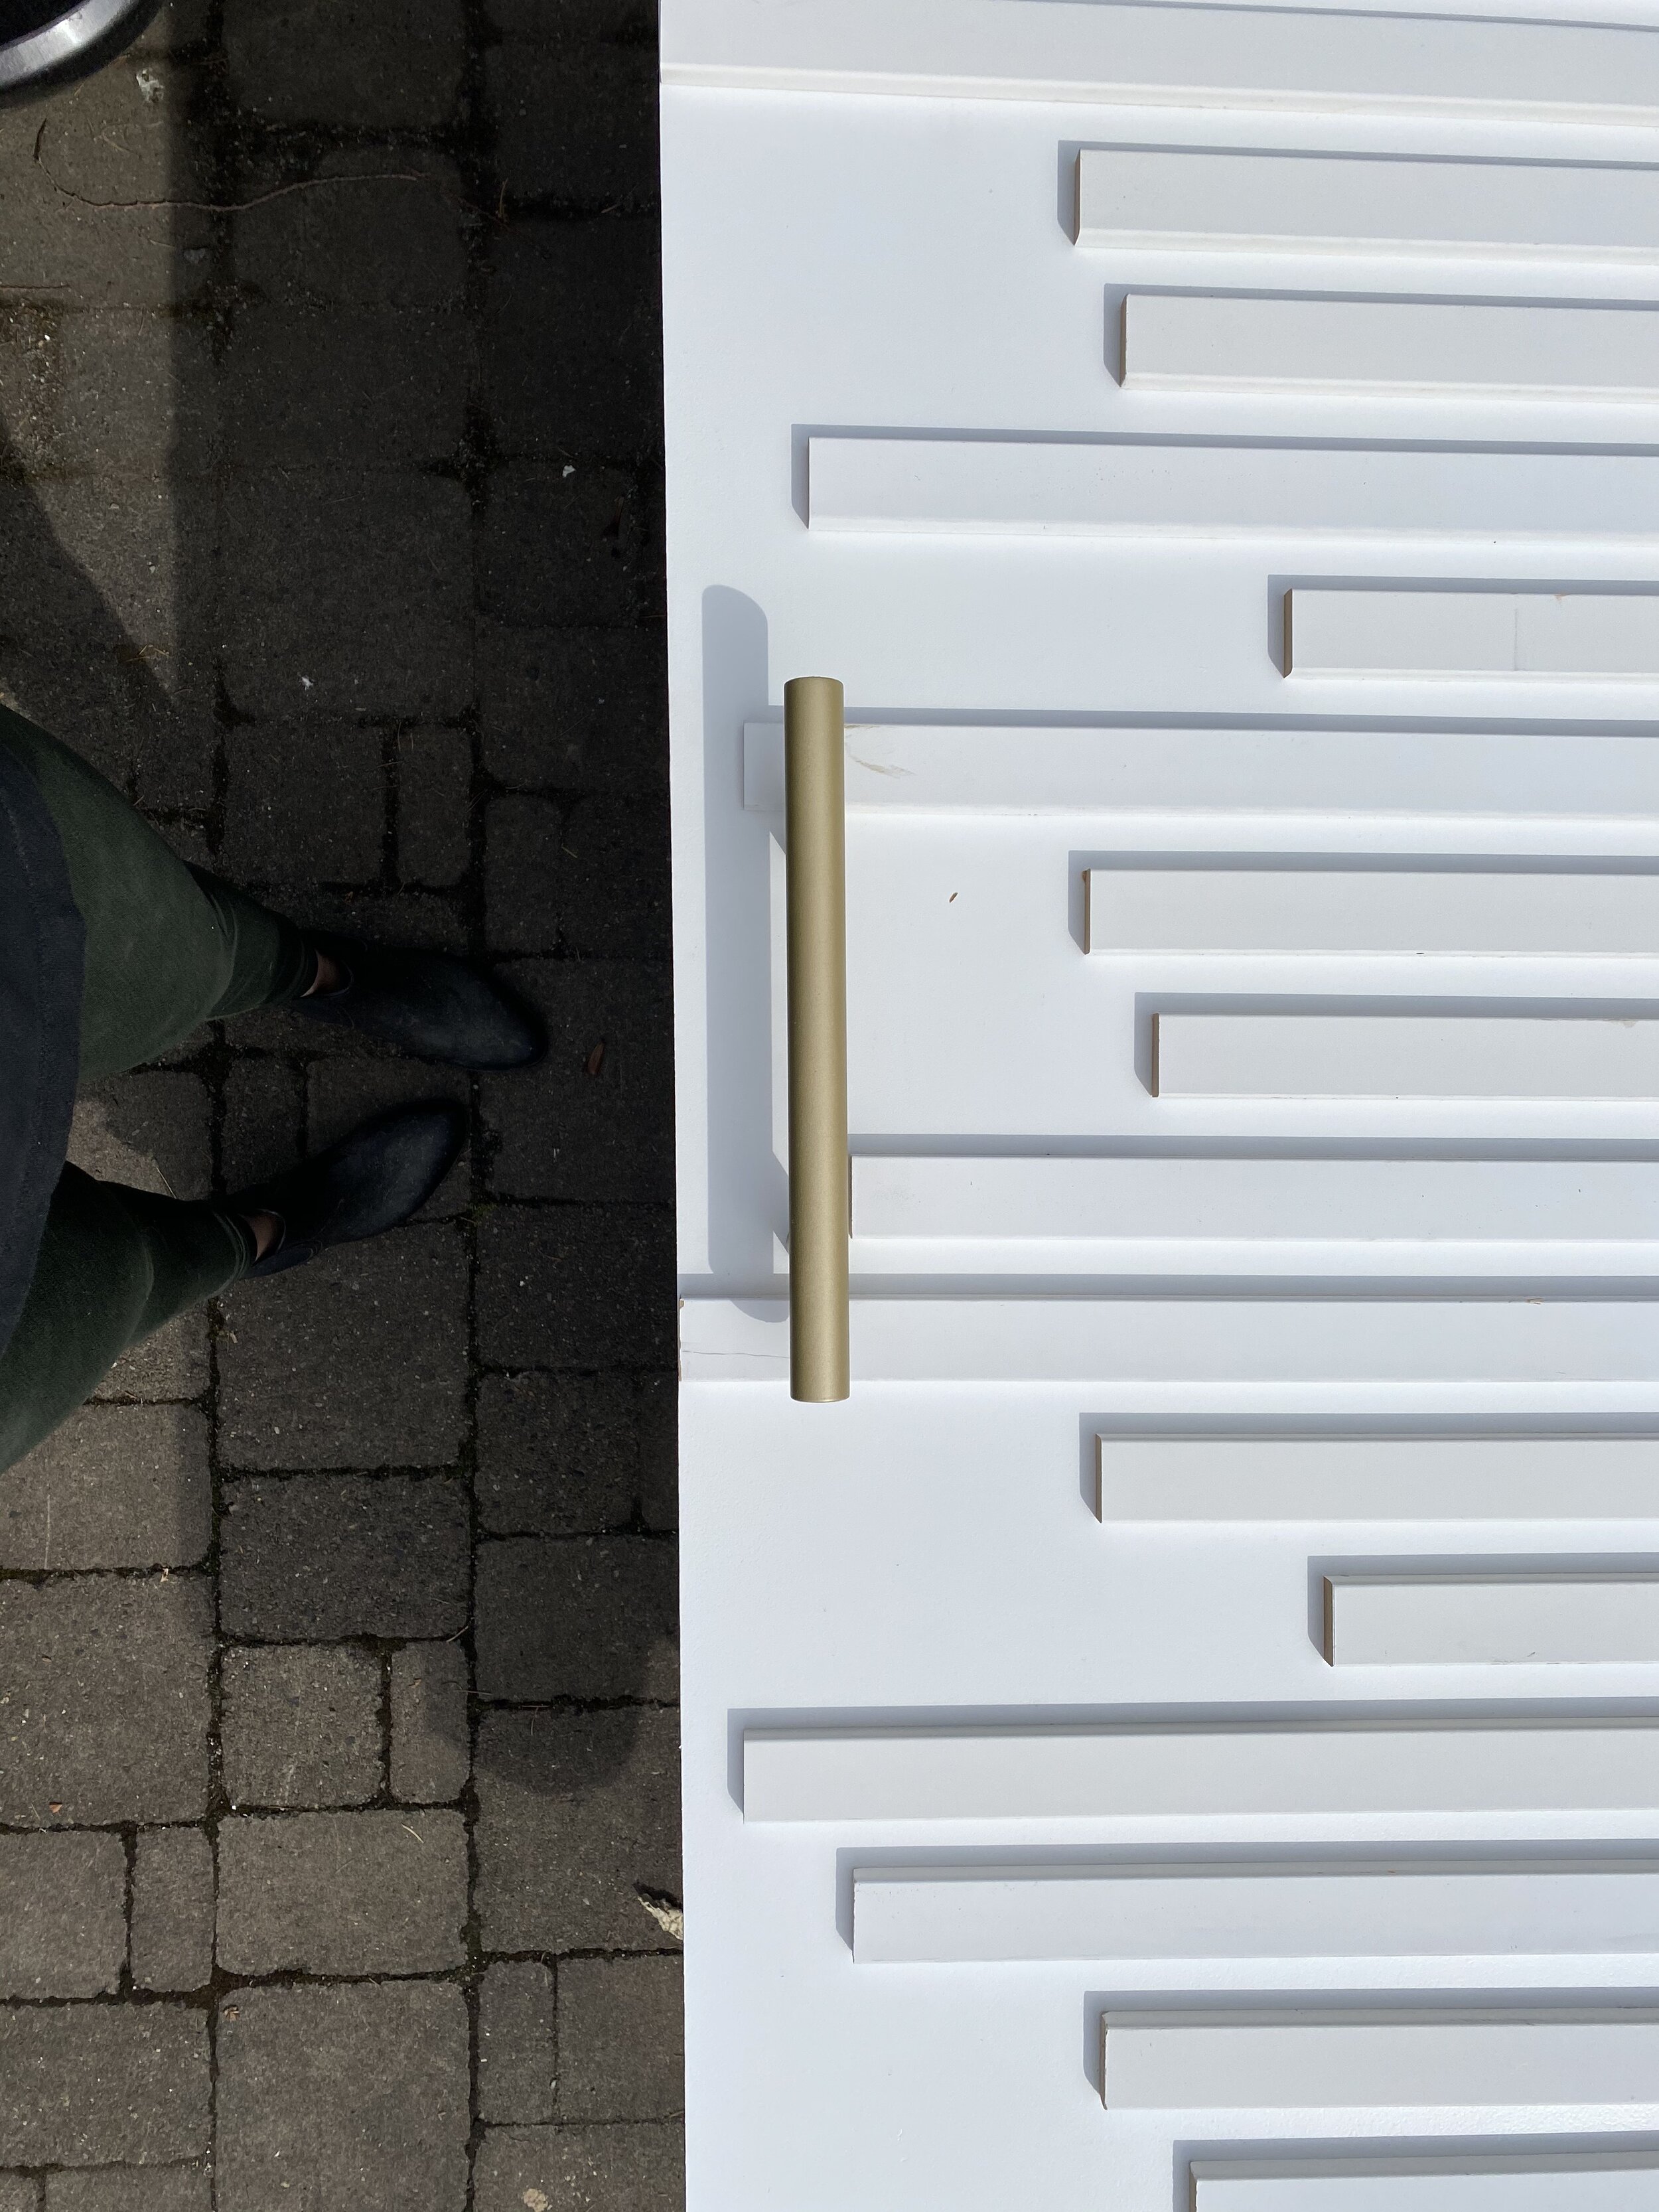
Door Design
I didn’t finish the doors. I need a paint sprayer and due to COVID, my local rental shop still isn’t open. And, although I purchased the paint last week I was sure was going to work out for the doors, I’ve decided that it isn’t working for me. I was sold on Benjamin Moore’s Fog Mist, but after painting the door slab, it’s just so much lighter than the swatch and isn’t giving me nearly enough depth. So, back to the drawing board on that one. Below is an image of the door next to my trim and walls and the largest swatch was my expectation. I feel like the current paint on the slab is just as white as my trim and walls?! It’s a head scratcher, that’s for sure. I might get a quart of Tapestry Beige and see if that’s a better fit. The good news is, I think I’ve landed on my design for the doors. Calling that a success so I don't feel a week behind. They look a little odd now, but I’m feeling confident they are going to wind up looking spectacular!

On the Agenda
Assuming I wrap these two beasts of a project up this week, my plans are to build the new bed and really start nailing down the layering elements of the room. Drapes have been ordered. Bedding is starting to come in. New pillows have been received. All the pretty things. So, all in all, this week should be all about the bed! And I am hoping to really make a statement in that regard ;-) Cannot WAIT to share what I’ve got planned!

Once again, I cannot thank you all enough for checking in on my progress. It’s your support and interest that keeps me motivated and committed to getting this thing done! Until next week.
happy designing
heather-scherie